As the weather warms up and bananas race from green to brown before you can scream “not more banana bread!”, make this fun and easy banana jam instead. Desi loves bananas so I always have more than I can handle sitting on the counter. And as much as we love vegan banana bread and vegan banana cake and vegan banana cookies, there are so many more delicious things you can do with this versatile fruit when it starts to ripen on you. This banana jam in particular is my favorite because it is naturally sweetened with dates and a touch of maple syrup which makes it really healthy, it is super easy to make, quite foolproof, and takes no more than 20 minutes of time to go from scratch to finish.
Why banana jam?
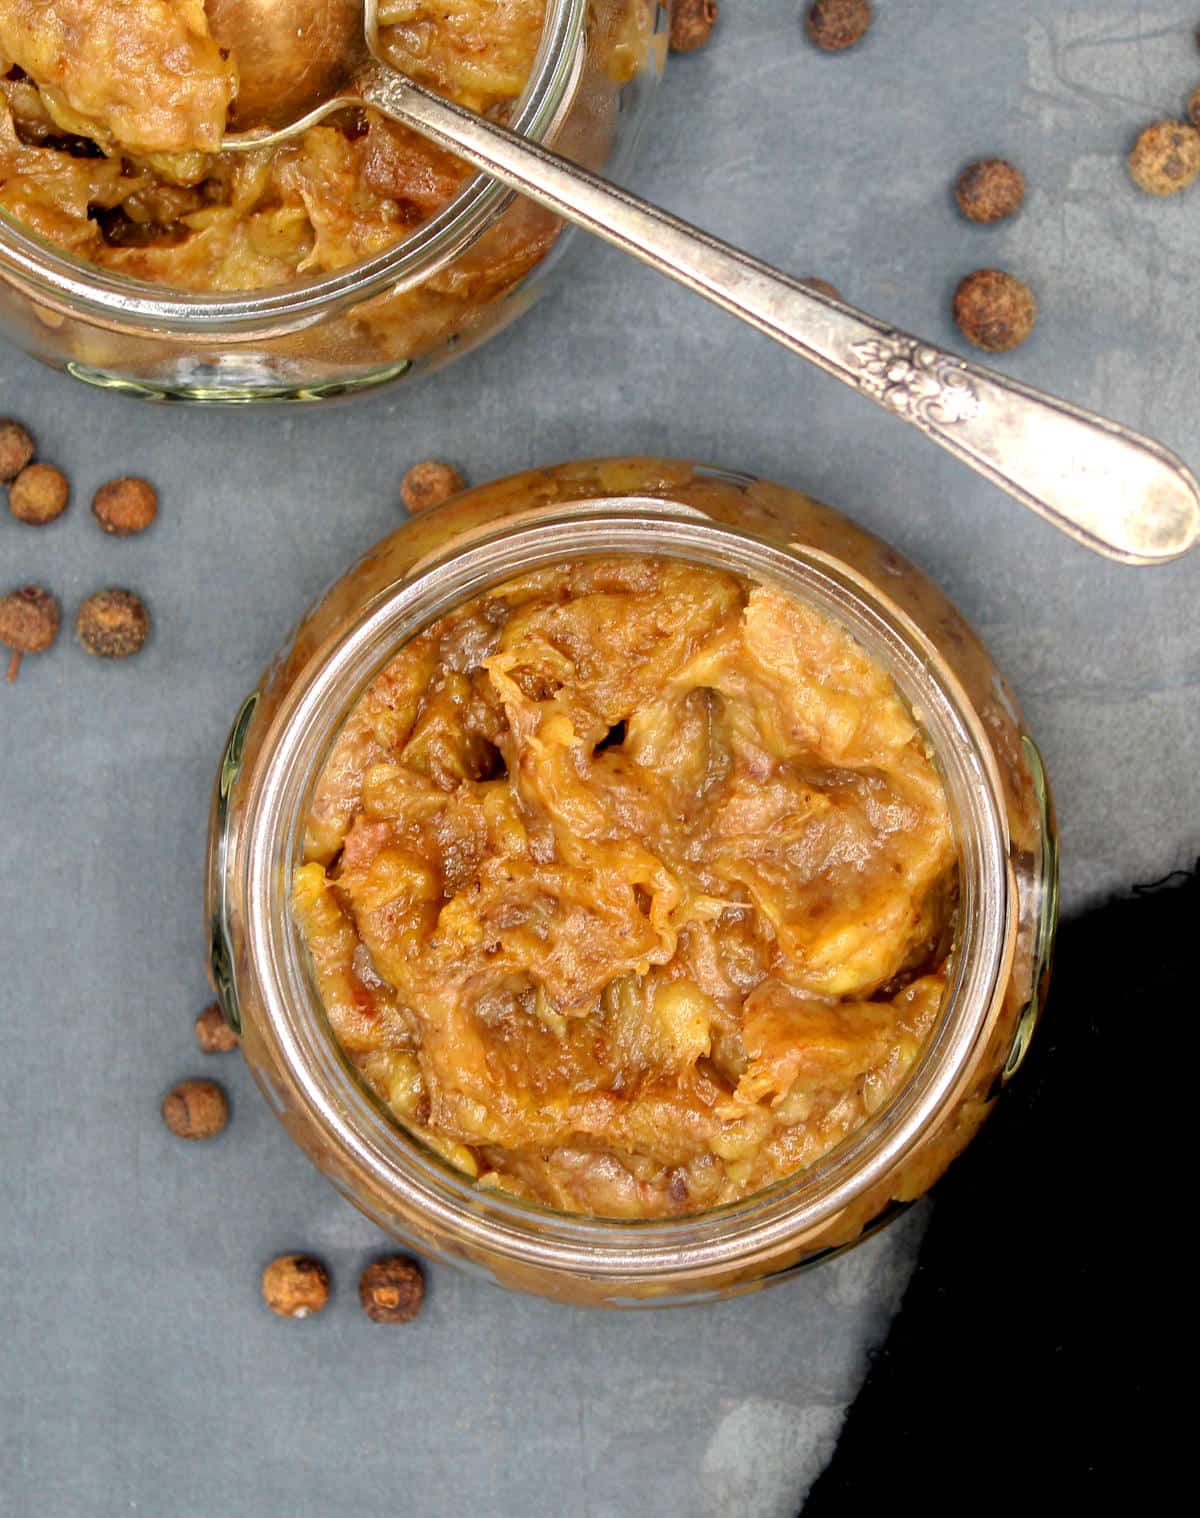
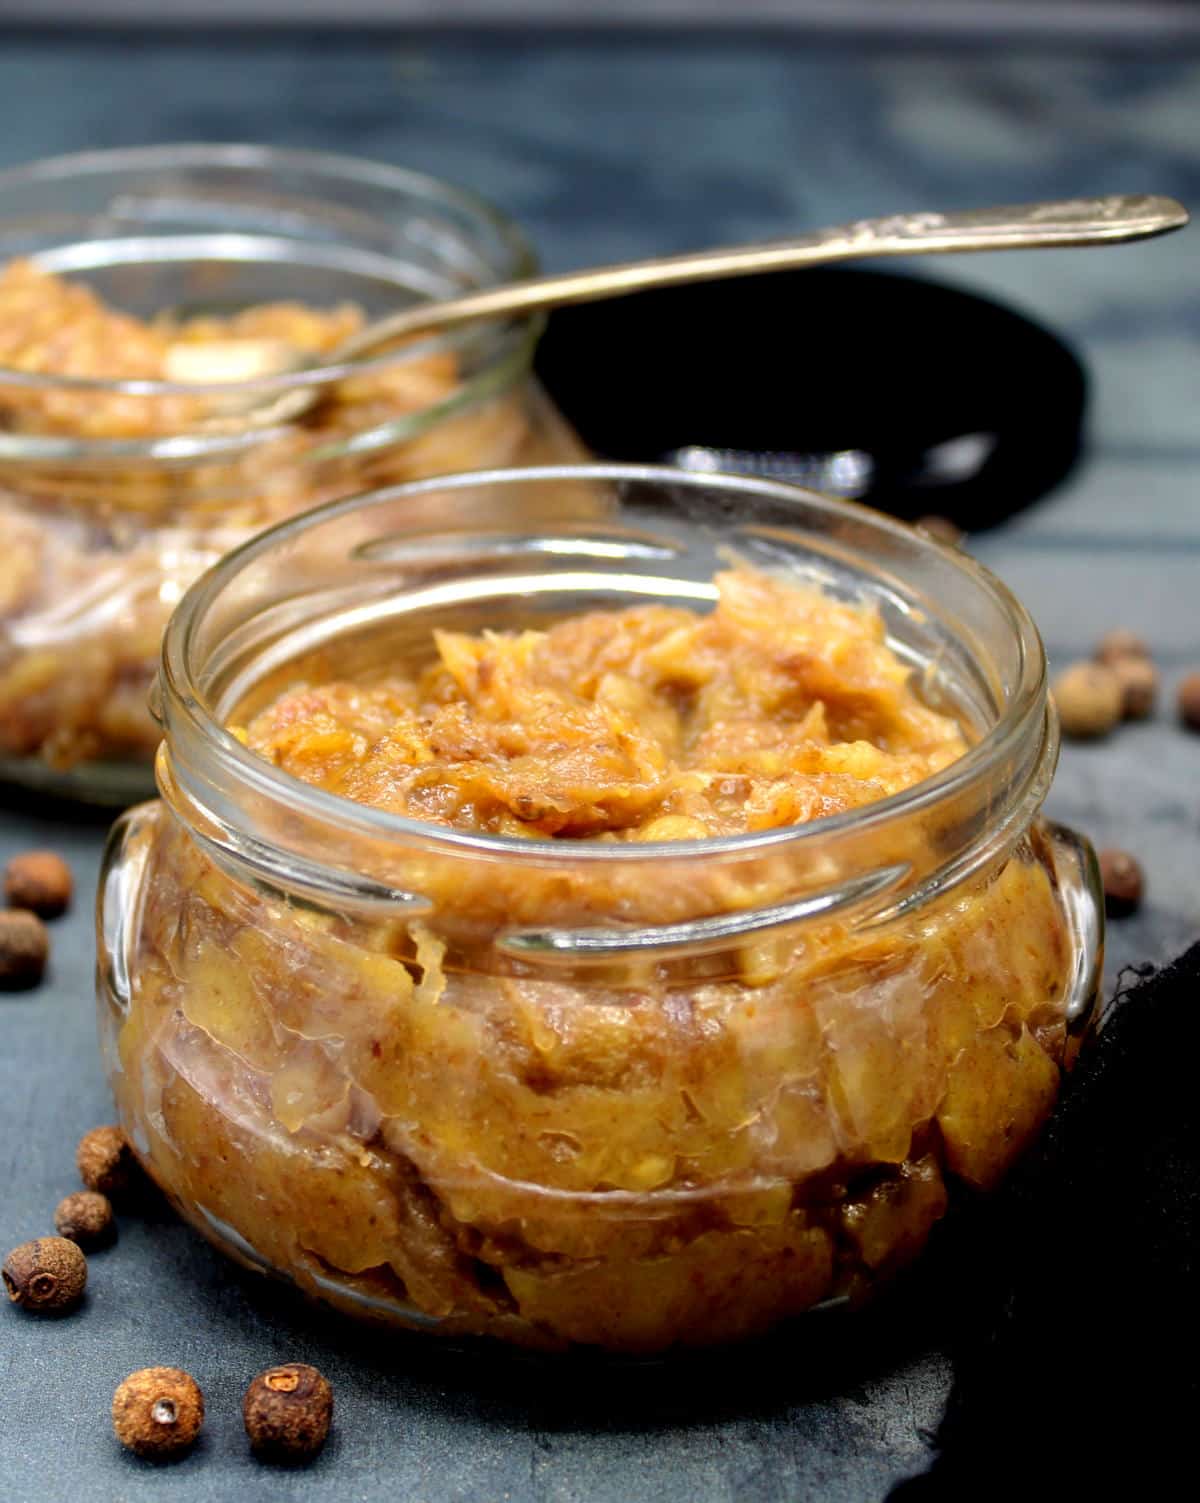
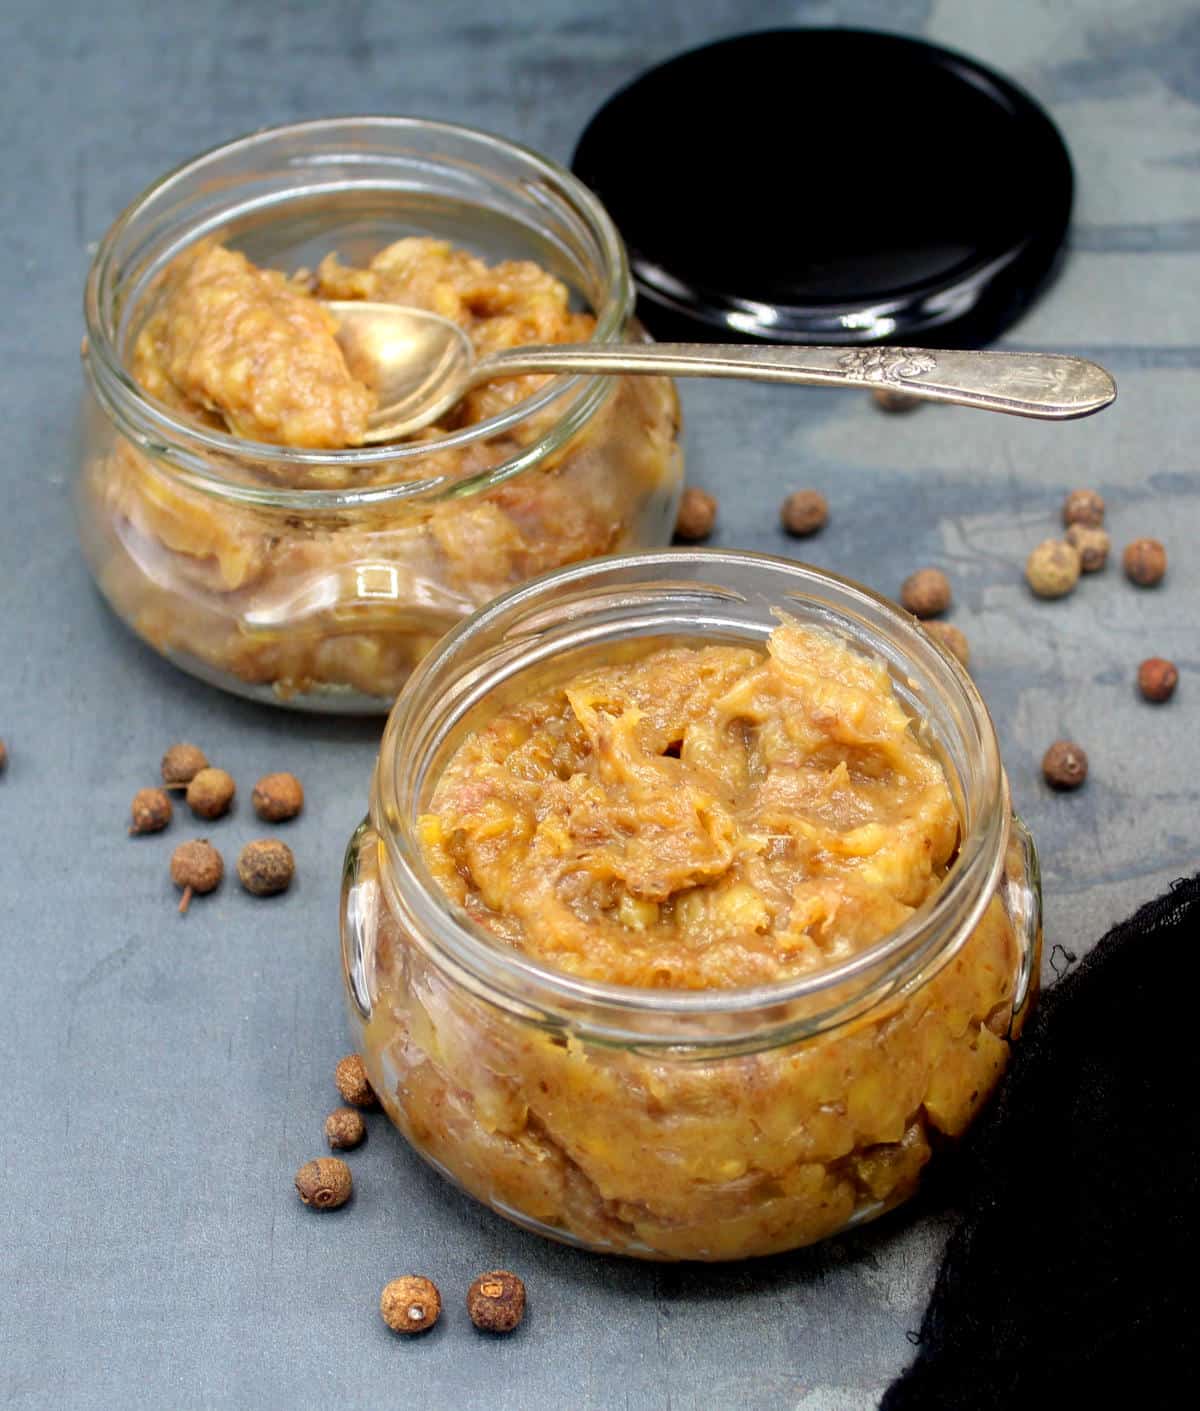
Sure, a banana doesn’t seem like a fruit that would lend itself naturally to jam making, like berries or peaches or oranges. But just because you don’t see it on the supermarket shelves is no reason to write off this amazing fruit as a candidate for making preserves you can keep around and enjoy for longer than you would be able to keep the actual fruit. If I were to describe what a banana jam tastes like, I’d say it tastes like bananas, only better. Think the sweetness of bananas concentrated, caramelized and flavored with vanilla and allspice. On a piece of toast, plain or slathered with peanut butter, it is absolutely, unequivocally, scrumptious.
How to make banana jam
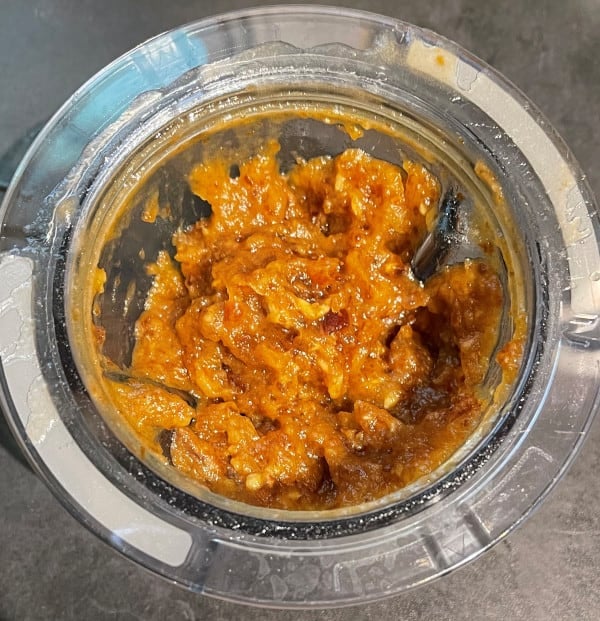
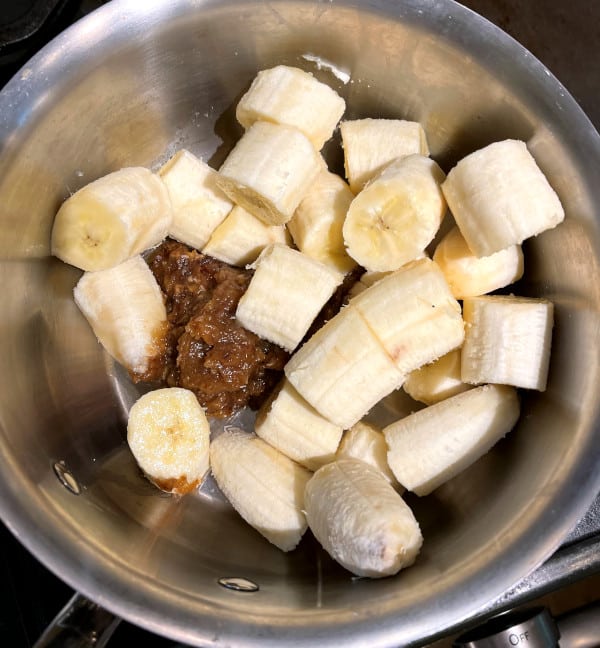
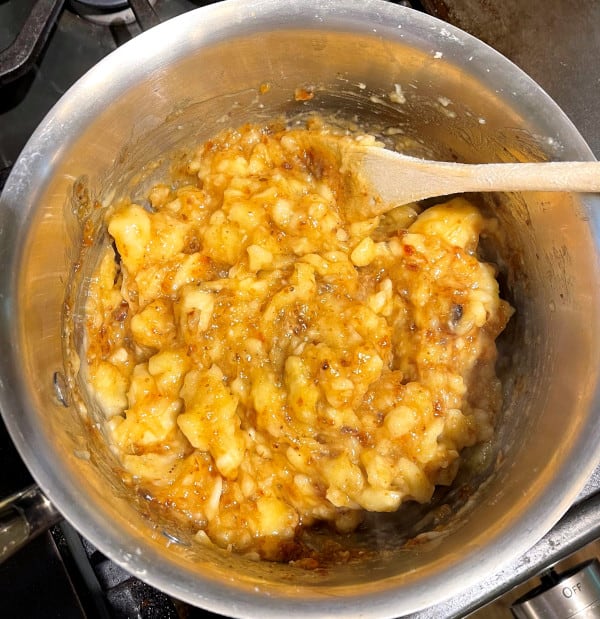
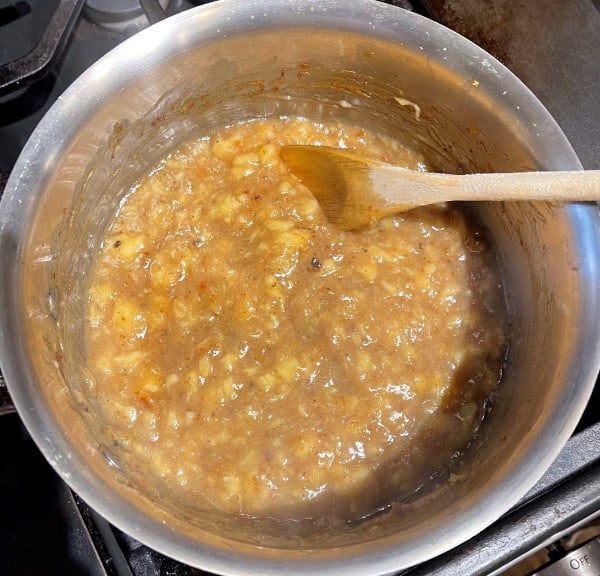
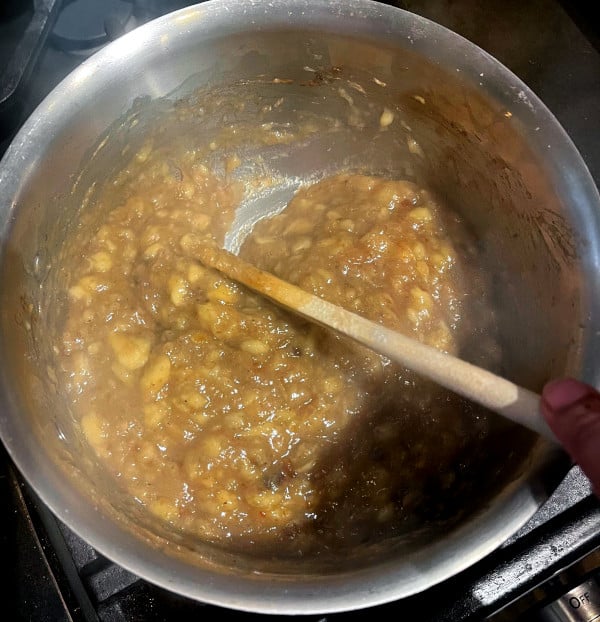
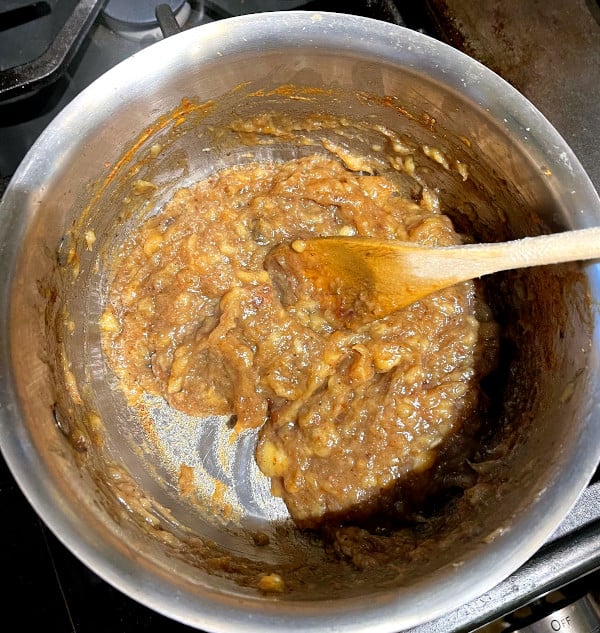
Chop the dates finely with ½ cup water and place them in a blender. Blitz until you have a pretty smooth paste. Place the date paste and maple syrup in a heavy-bottomed saucepan with the bananas, broken into smaller pieces. Mash the bananas and the date paste together, some lumps are fine. Use the ripest bananas you can find. The less ripe the bananas, the less sugar they will have, and also they won’t mash up as easily or effortlessly. Bring the mixture to a boil over medium-low heat, stirring constantly. There is a lot of sugar in the bananas, dates and, of course, in the maple syrup, and sugar can burn easily, so it’s important you stir it and make sure nothing is burning or sticking to the bottom of the pan. You don’t have to stir every second, but stay by the pot and make sure you stir it every 30 seconds or so. Continue cooking the jam until it becomes quite thick and has darkened in color. When it starts pulling off the sides of the pot and is quite thick you are almost done. At this point add in the allspice and vanilla and give it all a good stir. Turn off the heat. Let the jam cool, then scoop it into airtight jars and refrigerate, or eat.
More homemade jam recipes
Recipe card
Check to get new recipe updates by email.