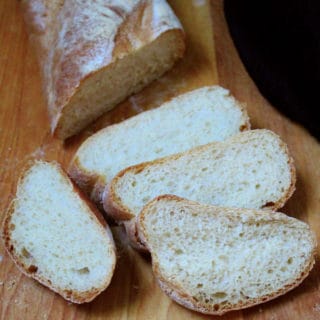
I haven’t posted a non-sourdough bread in a while, so I thought I’d remind you about this amazing and easy French Bread recipe I shared with you all the way back in 2009. It’s my favorite French Bread and I make it ever so often, as do so many of you who have written to tell me all about it. My recipe’s still exactly the same, but I’ve updated this post with new photographs, because the old ones were, well, to put it nicely, dated. This is an extremely easy bread to make, with two rather quick rises and just 25 minutes in the oven. And it is quite fool-proof. In fact, if you’re a new baker, this is the recipe to give you the confidence you might be looking for as a bread baker. The wonderful thing about French bread is, it is rather minimalist, with just a few ingredients. So what’s stopping you? Let’s dive in.
Ingredients
Flour. Unbleached all purpose is what you need for this recipe. I have a foolproof whole-wheat French bread recipe on the blog with step-by-step pictures that you can try if you want a wholegrain bread. Water. Try and use distilled or filtered water for the best results when you bake bread, because chlorine is not a friend of yeast. Sugar. You just need a teaspoon to feed your yeast. Salt. For flavor.
How to make French Bread
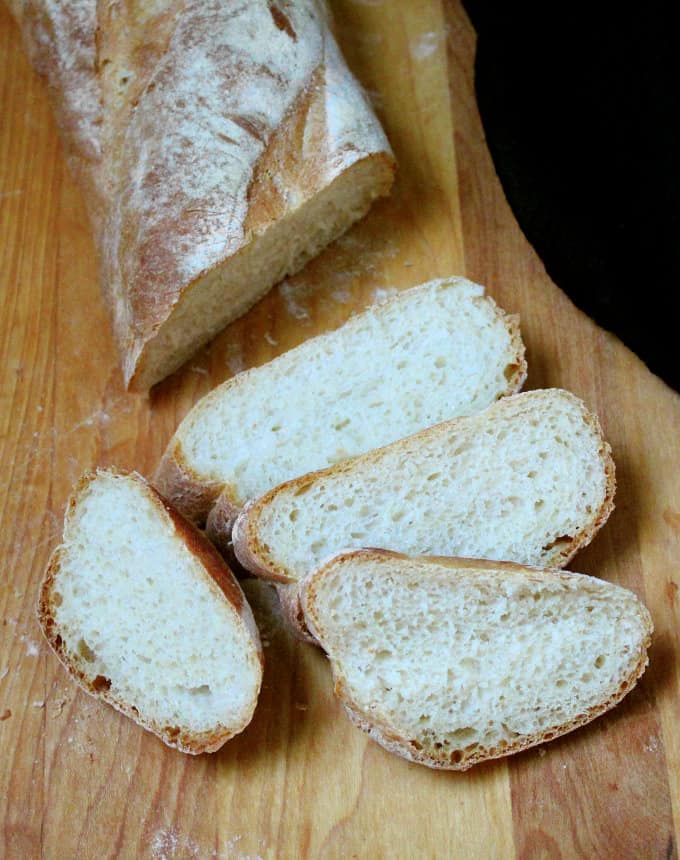
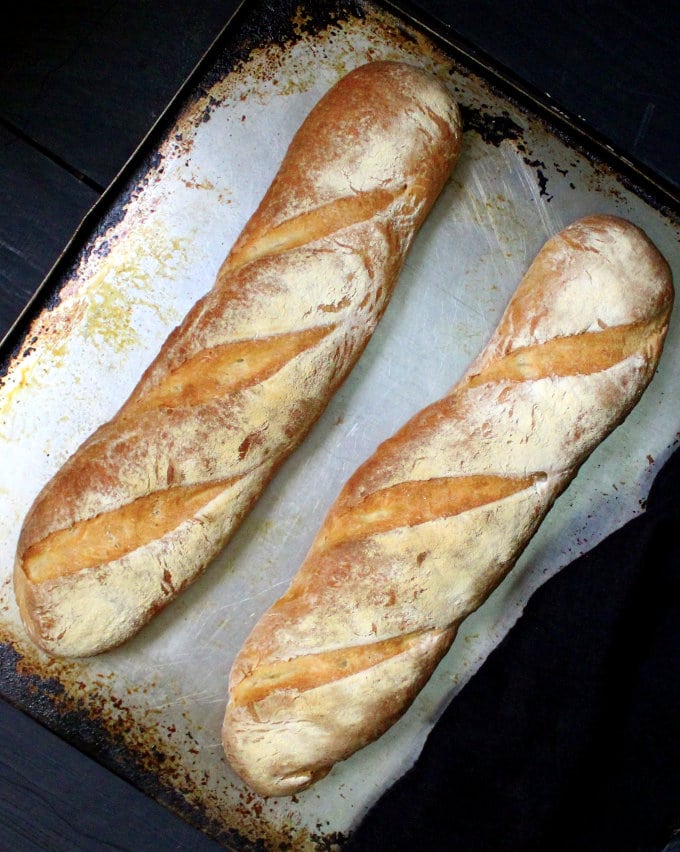
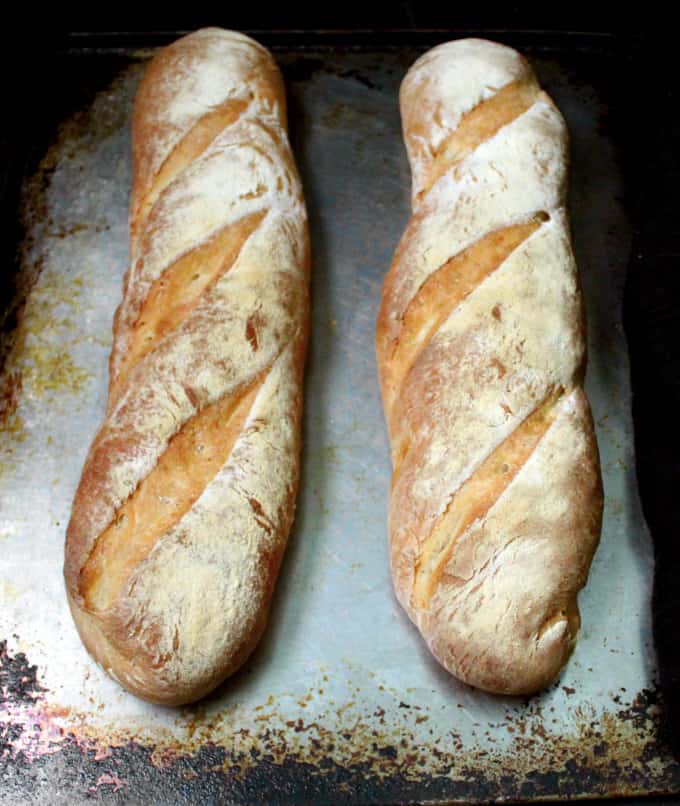
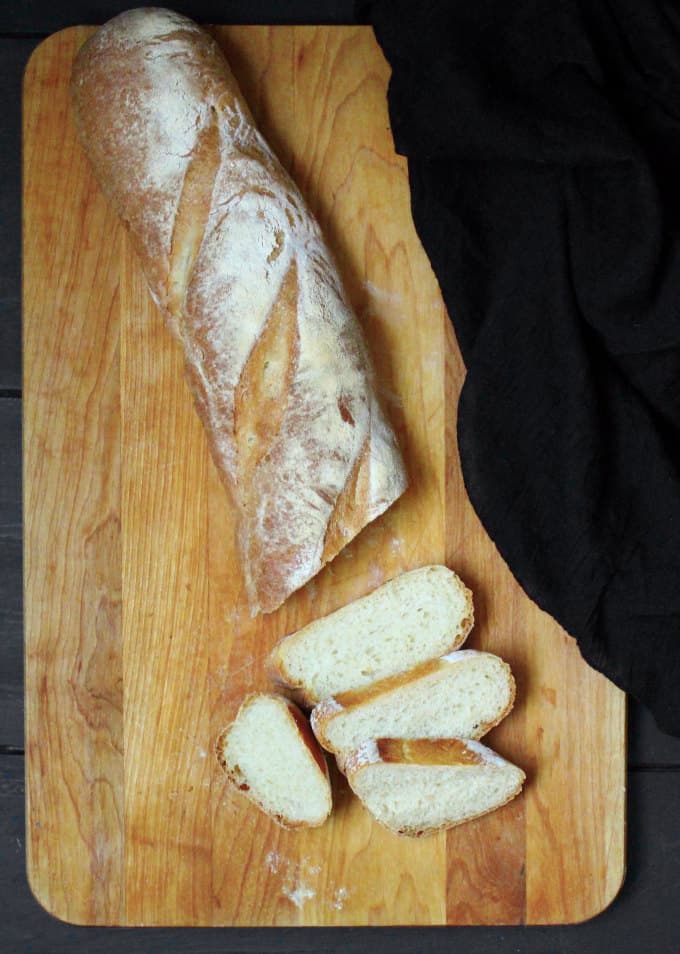
When you use active dry yeast, as this recipe requires, always start by “flowering” your yeast. That’s just another way of saying that you should ensure your yeast has not passed on into yeast heaven or wherever it is that dead yeast go. The best way to check the health of your yeast is to stir it into some warm water, feed it with a bit of sugar, and if it bubbles and froths up within five minutes, you’ll know it’s still among us and therefore fine to use. If your yeast shows no activity, it’s likely dead, so buy some new yeast and start over. Unless you want a French brick rather than a French bread. Once you’ve ensured your yeast is alive, add the remaining water and two cups of flour, mix it in, and then add salt. You want your French bread dough to be just slightly sticky but also very supple. So it should stick just slightly to the surface of your bowl or your kitchen countertop when you put the dough on it, but it should also come off easily, without leaving any dough behind, and you should be able to easily shape it into a ball. The way to ensure you get the right texture is to knead the dough for at least five minutes. This also helps build the gluten in your bread, which gives your bread great structure and helps it rise. Your first rise should take 45 minutes to an hour and your dough should visibly double. Make sure you oil the bowl before you put your ball of dough in it, cover it with a kitchen towel or cling wrap, and set it in a warm place, like the inside of the oven with the light turned on, or on the countertop if you’re in warm climes. Once your dough has risen, turn it out on the countertop, knead it ever so slightly, divide into two, and form each half into a bowl. Punch each half into a circle with your fist, then roll it into a cylinder, making sure you seal the seams with your fingers. Finally, roll each cylinder back and forth on the countertop using the palms of your hand to shape it into a baguette about 12 inches long, or as long as your baking sheet will hold. French baguettes are really long and really thin, and I don’t have a baking sheet that could hold one that long, so my French breads look halfway like batards, which are shorter, fatter French breads. Equally delicious, though. Place your shaped baguettes on a parchment-lined baking sheet or you could just sprinkle the sheet with some coarse cornmeal. Make sure your baguettes are spaced at least three to four inches apart to give them room to rise. Dust on some flour on the tops of the baguettes before you set them aside for the second rise. This is because you want to cover the baguettes with a kitchen towel to prevent them from drying as they rise, and you don’t want the dough to stick to the kitchen towel. I also like the rather decorative, rustic and artisan-y look the flour gives the bread. You will need to slash your bread before you put it in the oven. Now this is the only part that can be a tiny bit challenging because if you use a knife that’s not sharp enough, you could cause your baguette to deflate, which would be a pity after that beautiful rise. The easiest way to make a cut, I find, is with a steak knife that has a serrated edge. The knife is not so heavy that its weight could cause the loaf to deflate, especially if you’re new at this, and the serrated edge cuts through the dough easily. Be bold and confident – at least as bold and confident as you can – when you make the cut, and try and make a clean gash the first time round. Channel your inner surgeon. You don’t want to butcher your loaf–you just want to eat it. Spray the insides of your oven with water before you bake. You want a nice crust on your French bread, and the water will help with that. Finally, make sure you cool your loaves thoroughly on a rack before you slice them.
Now I know that seems like a lot of instructions for an easy bread, but I wanted to make sure you are armed with all of the information you need before you set out to make this amazing bread. It really is easy. And once you’ve made it, you’ll be making it again and again. Check to get new recipe updates by email.
Serve
So now you’ve made the most amazing bread you ever baked, and you’ve eaten a few slices with a pat of vegan butter and it’s so good, but you’re wondering what else can I do with it? Here are some ideas:
Serve it alongside a soup or stew, like this delicious Vegan Lamb Stew. Crusty bread and soup – or stew – are a match made in heaven. Use it for avocado toast. Or better still, pile it high with this Chickpea and Avocado Salad for breakfast. Use it as a base for a French Bread Pizza! Cut the bread lengthwise down the middle, place it on a baking sheet, top with marinara and vegan cheese and anything else you’d put on your pizza and bake in a 400 degree oven for about 15 minutes. Yum. Use it to make French toast! I even have a great recipe for vegan French Toast for you. Make sandwiches. Make bruschetta-like appetizers. Cut the bread into slices, grill, then top each slice with vegan basil pesto, tomatoes, and vegan cashew parmesan.
I think I can’t wait any more, my mouth’s watering with all that deliciousness. Come along for the ride and bake this easy French Bread with me. Bon appetit!
Recipe card