on Jul 28, 2020, Updated Oct 22, 2024 I LOVE pani puri and I am fiercely loyal to the ones served by the pani puri wala right around the corner. However, I took up the challenge to perfect my homemade pani puri recipe and after a few tries, I think I’ve done it! Making golgappa or puchka at home from scratch sounds daunting, but trust me, it’s so MUCH easier than you think. This recipe is a huge among my folks and friends. The puris are CRUNCHY, the filling is chatpata, and that pani is to die for! Nailing street-style pani puri has 3 important elements – the pani, the puri, and the filling. Let’s break it down!
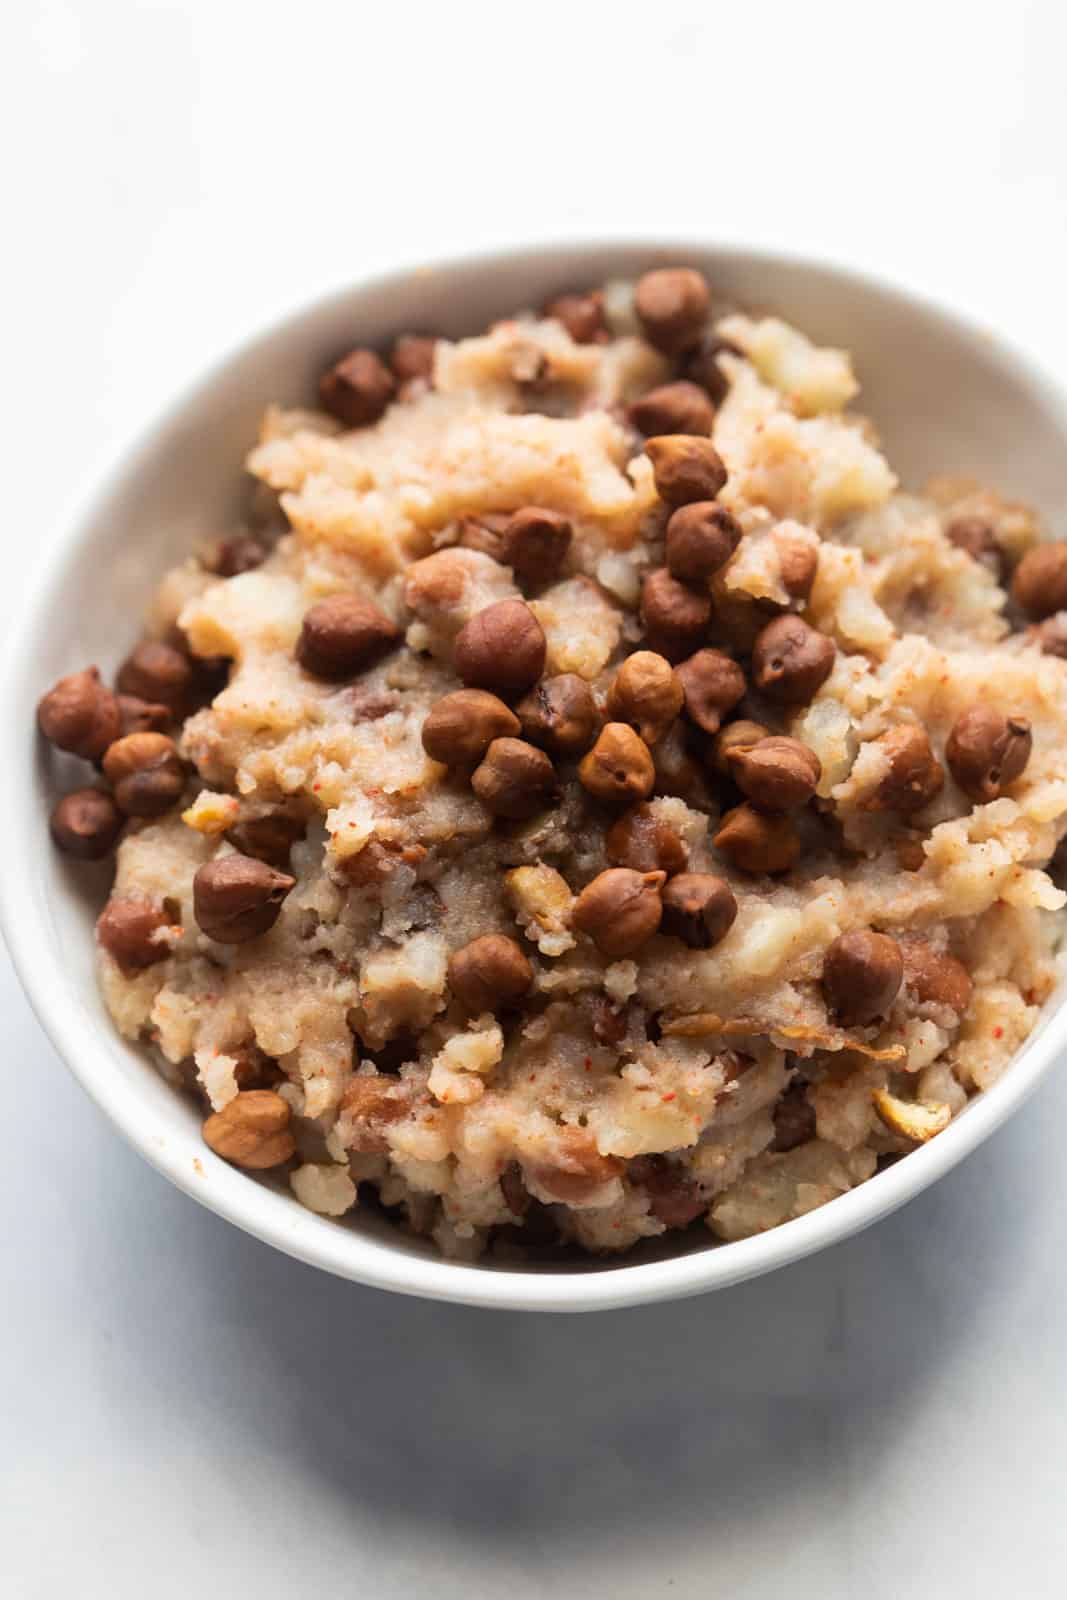
The Filling
For that lip-smacking street style pani puri, the filling has to be just right. My filling recipe has only 5 ingredients and is SO tasty. The major chunk of filling consists of boiled and mashed potatoes and kala chana (black gram)/ kabuli chana (chickpeas). The chatpata taste comes from black salt, cumin powder and red chilli powder. However, make sure you get the measurements right for a nice, balanced filling.
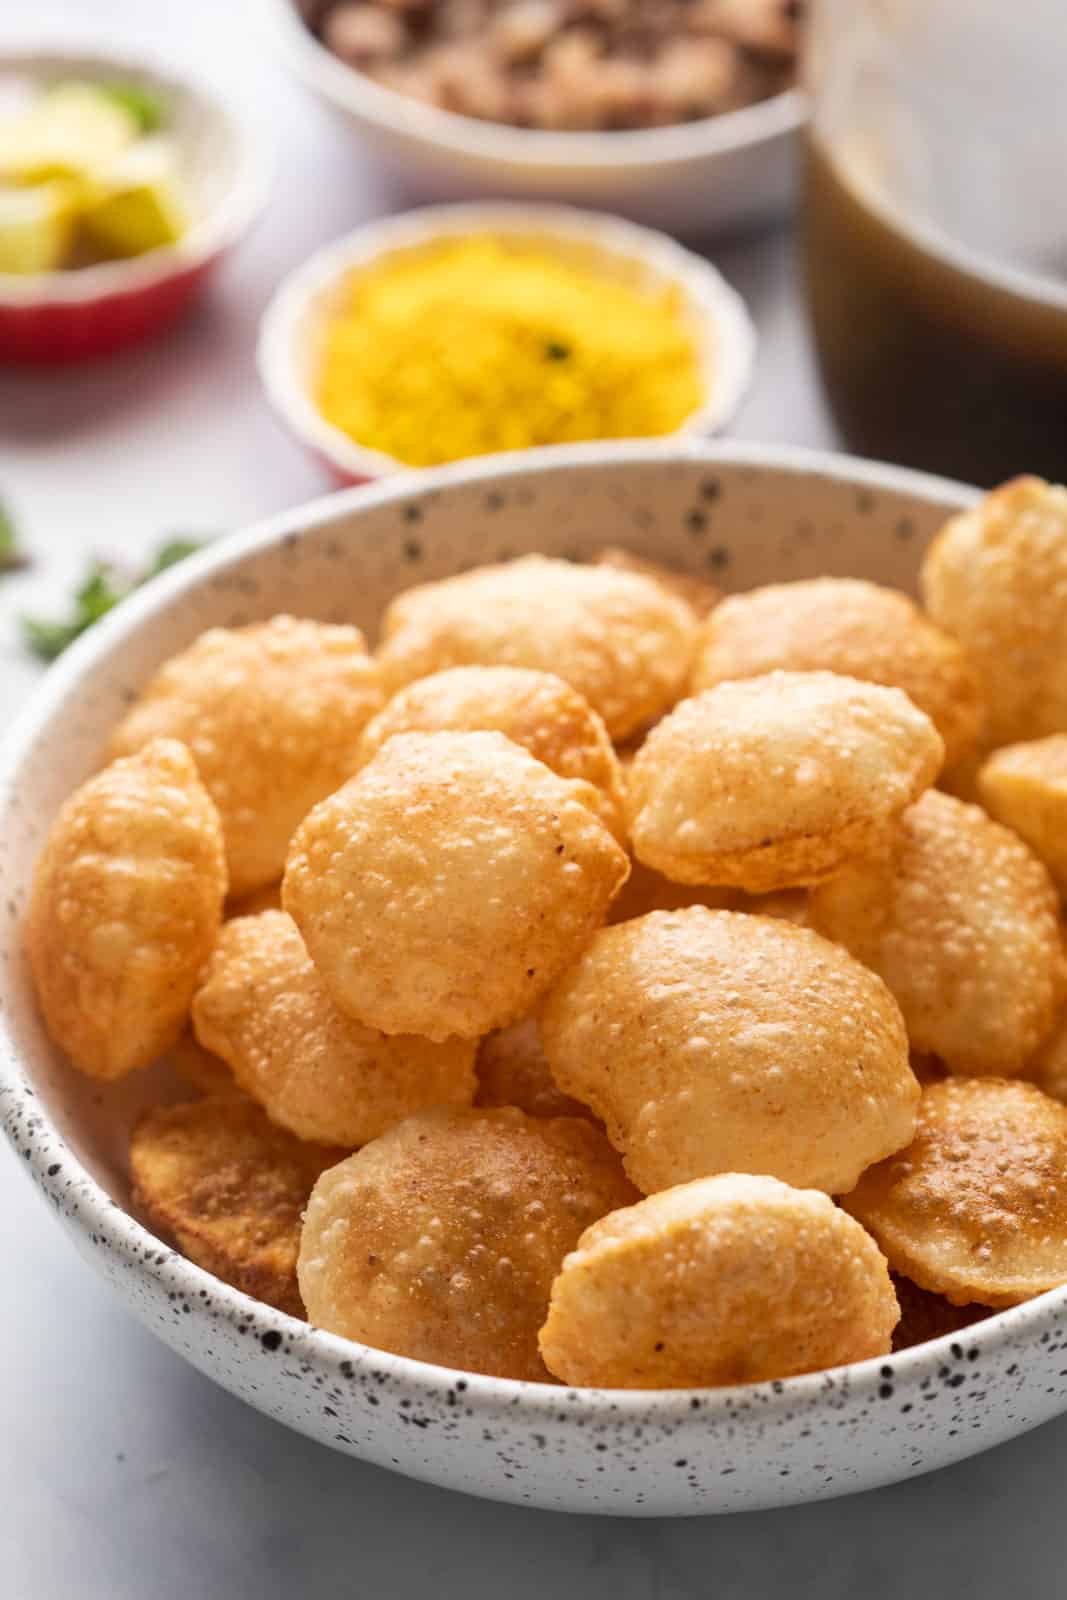
Nailing The Crispy Crunchy Puris
Getting the puris right is all about the formula. We want crispy puris that hold their shape but aren’t too stubborn and remain crunchy when we try to poke them to fill them up with masala and pani. Here are my top tips to make the best puris:
For the puri dough, I use mainly semolina or sooji and a small quantity of wheat flour as a binding agent. Look for fine semolina Add hot (but not boiling) water VERY CAREFULLY while mixing the dough, too much water can result in soggy fried lumps rather than crispy puris. The dough should be firm and not too soft It’s important to knead the dough well till it starts feeling smooth Roll the dough out as thin and evenly or else they WILL get soggy. If the dough is unevenly rolled out, it will result in thick edges or spots that won’t puff up You can either make small balls of dough and roll out individual puris, or roll out a bigger circle of dough evenly and use a cutter to cut circles in it When frying the puris, the oil’s temperature has to be controlled between medium to high flame. This will help the puris puff up instantly, and cook them properly so that they remain crisp even after cooling down Gently tap the puris in oil while frying for evenly puffed puris
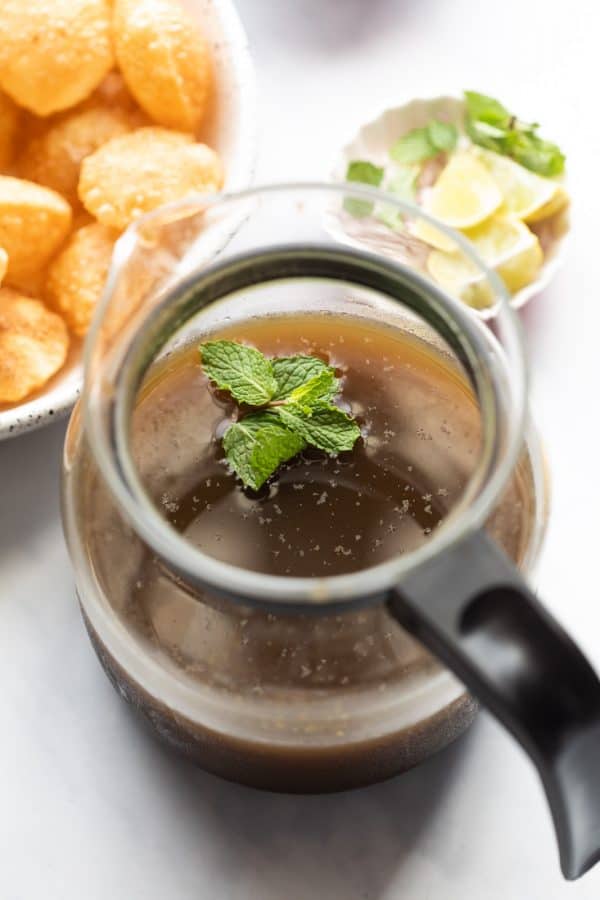
The Magic Potion – Pani
The pani puri water is what binds all the components together and makes the filling-filled puris such a fun experience! I make my version of jaljeera with a host of spices and seasonings that boost the flavour of the pani. It is all about getting the balance right for a sweet, spicy, tangy, and sour pani. You can customise it according to your taste preferences. Make sure the pudina leaves are super fresh for a fresh flavour. You can even try my Guava Pani Puri and Anar Pani Puri to make to make this snack even more fun and interesting.
The Garnish
Usually my folks can’t wait till I put the garnish on the puris, they gobble it up so quickly! However, here are some garnish options – soaked boondi, whole pudina leaves, even raw onions.
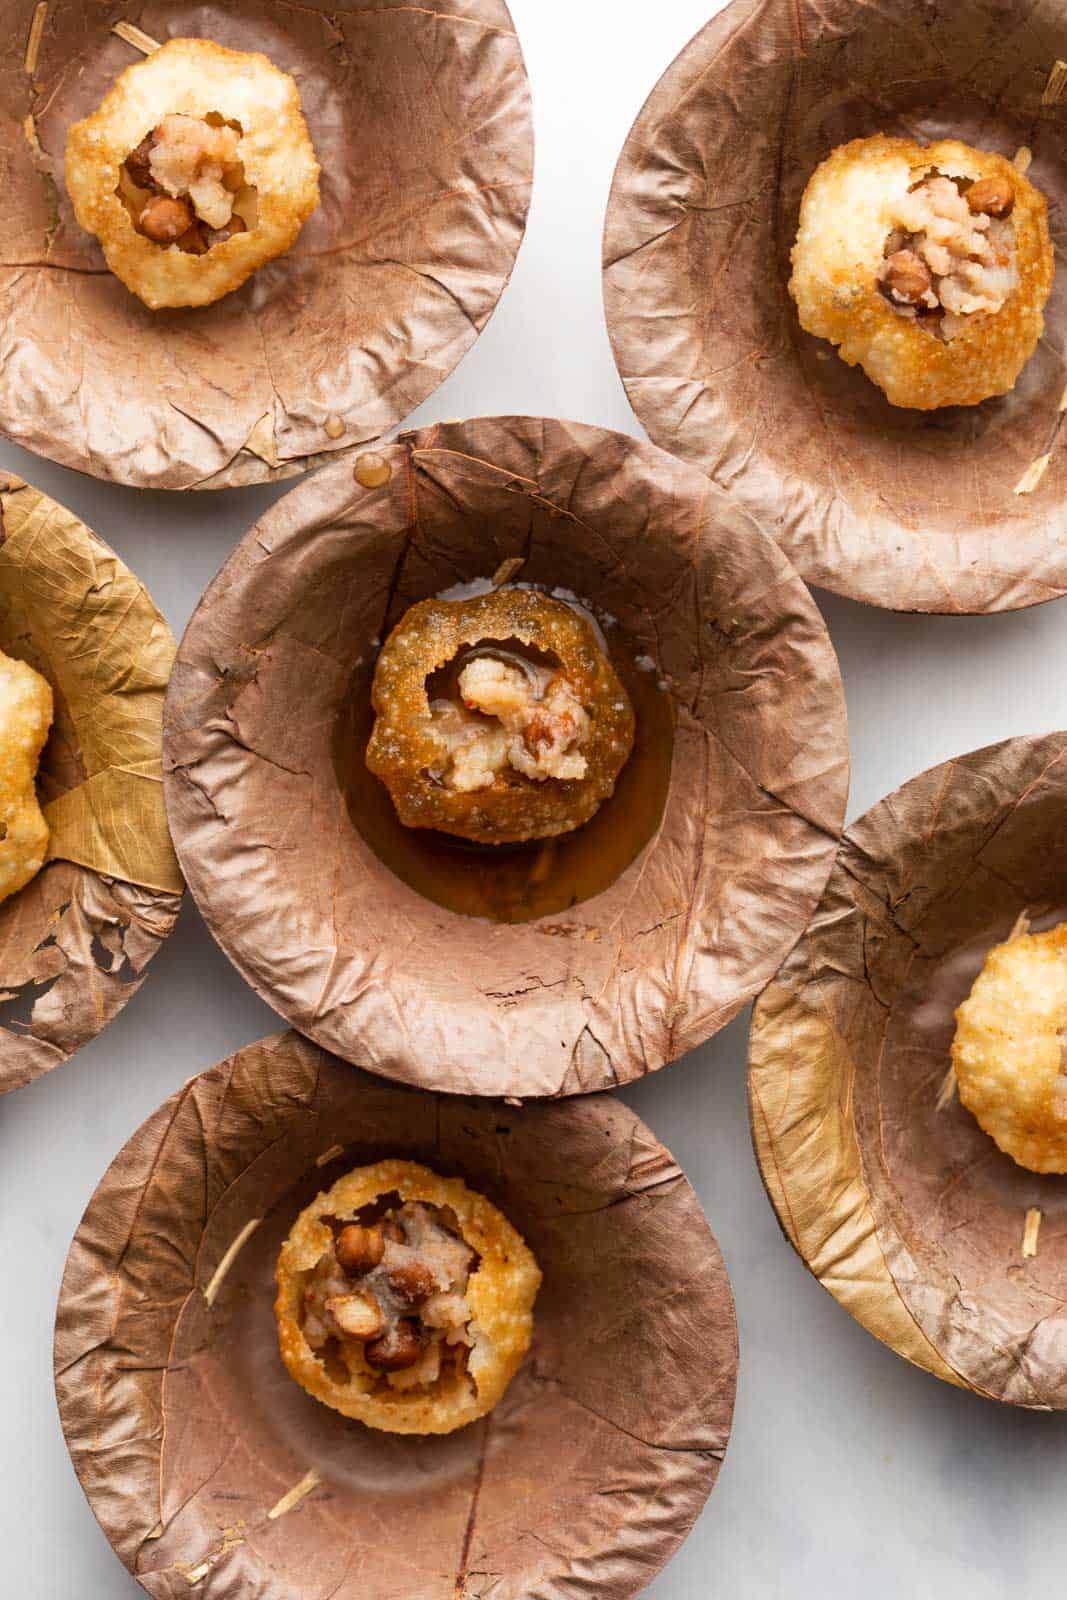
Serving the Pani Puri
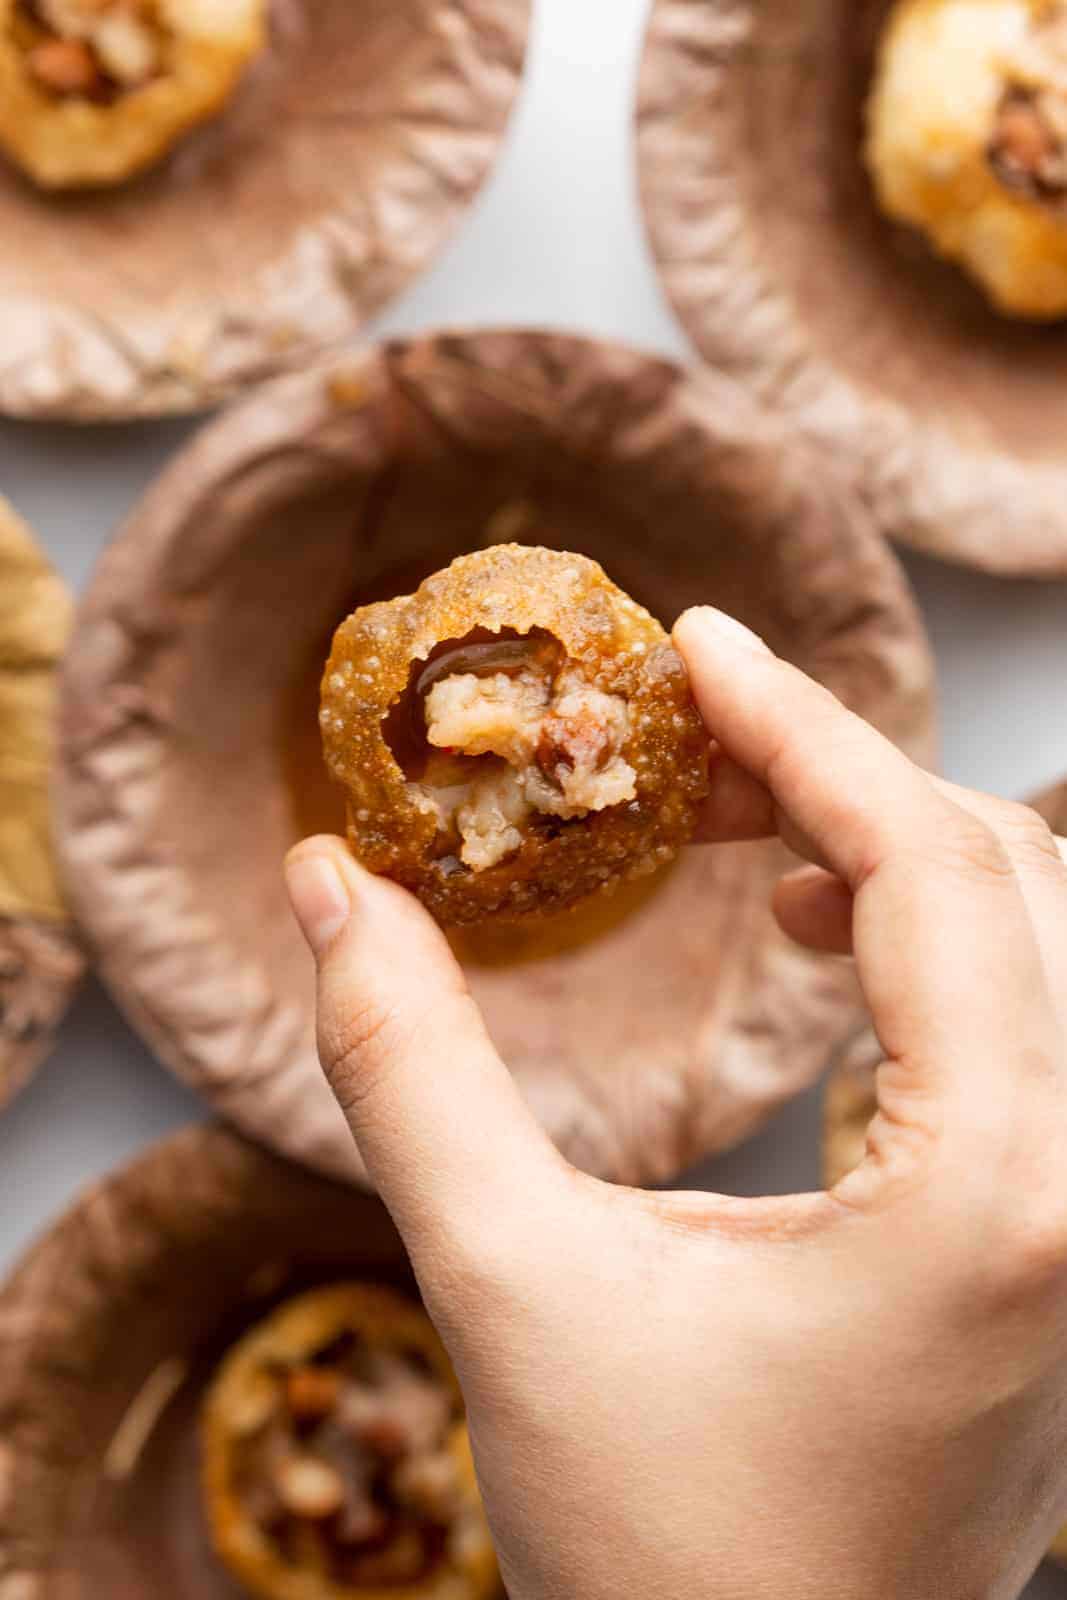
I like to make eating pani puri a hands-on experience! If you aren’t getting your hand dirty and don’t have some pani running down your chin, you haven’t eaten pani puri! I just lay everything out on the table, everyone helps themselves and has fun along the way. Along with the pani puri water, the puris and the filling, I also serve the following:
Sweet chutney (made with dates and tamarind) Raw, chopped onions Chopped coriander leaves Lemon wedges Red chilli powder Kala Namak Roasted Jeera powder Sev for sev puri Dahi or yogurt, if someone wants to make themselves a plate of dahi puri Salt
Homemade pani puris are a little time consuming so make this a weekend project!. It’s also a fantastic way to catch up and spend some quality time with folks after a busy week. It’s simpler than you think and SO much fun! If you make this pani puri recipe, do leave me a comment below letting me know your thoughts. And don’t forget to share photos of your recreations over on my IG @my_foodstory.
Watch Step by Step Pani Puri Recipe Video
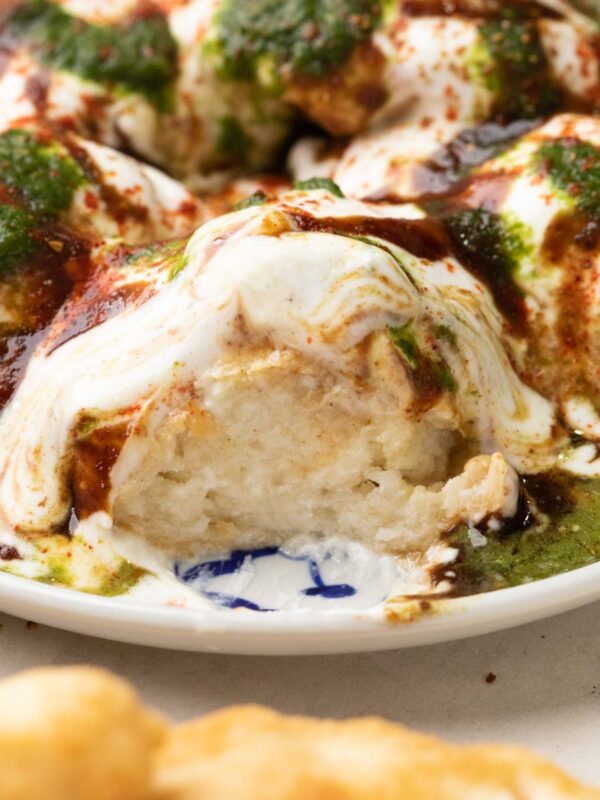
Dahi Vada | Dahi Bhalla
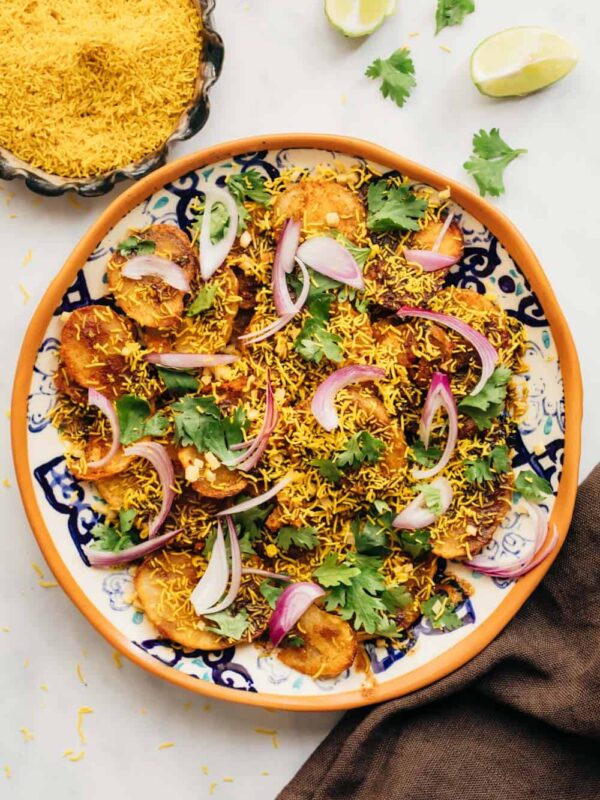
Easy Aloo Chaat – Delhi Style
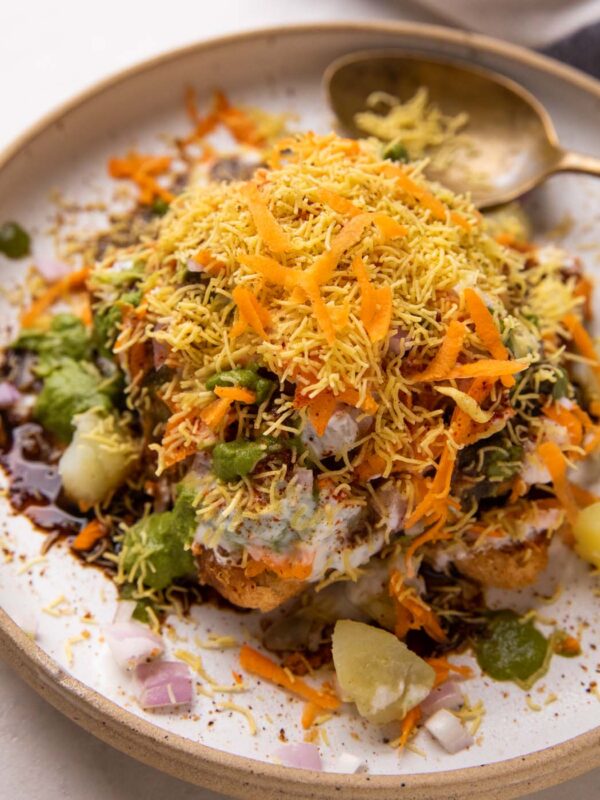
Bread Chaat
The Best Indian Punjabi Samosa