I’ve been nurturing my sourdough starter, George, for almost a decade now. I use it to bake delicious breads, pancakes, waffles, cookies and so many other goodies. Today, I’m sharing my best tips on how to make and maintain a foolproof sourdough starter. This is an extraordinarily simple process that requires just two ingredients, flour and water. It is something anyone can do. That said, this is not a process that can be rushed. You have to also keep your sourdough starter at the right temperature so it develops as it should. And you will need to dedicate a few minutes every day for a week to get your starter going. Be sure to name your starter. 🙂 Mine was named George by a reader, and over the years I’ve smiled many times as you’ve come back to tell me the names you’ve given your starters: Georgina, Crunchy, the Hulk and Tina (after quaranTine :)) among others.
Why you should make a sourdough starter
After I’d made my sourdough starter, I began looking at all baked goods differently. My jar of yeast sat in the freezer while I experimented with not just breads but sourdough pancakes, sourdough waffles, pretzels, English muffins, sourdough biscuits, sticky buns and so much more. The sourdough made eating these treats not just more fun and delicious, but also more guilt-free. That’s because all those billions of yeast bacteria teeming through your sourdough starter–the ones that make it bubble and rise–are probiotic and therefore great for your gut. Some studies even show that sourdough is easy to digest, and could be eaten by people with celiac disease who cannot normally tolerate gluten (although this is something you should check with your doctor). Bread made with sourdough is also said to be better for diabetics because it’s lower on the glycemic index than regular bread is.
Equipment
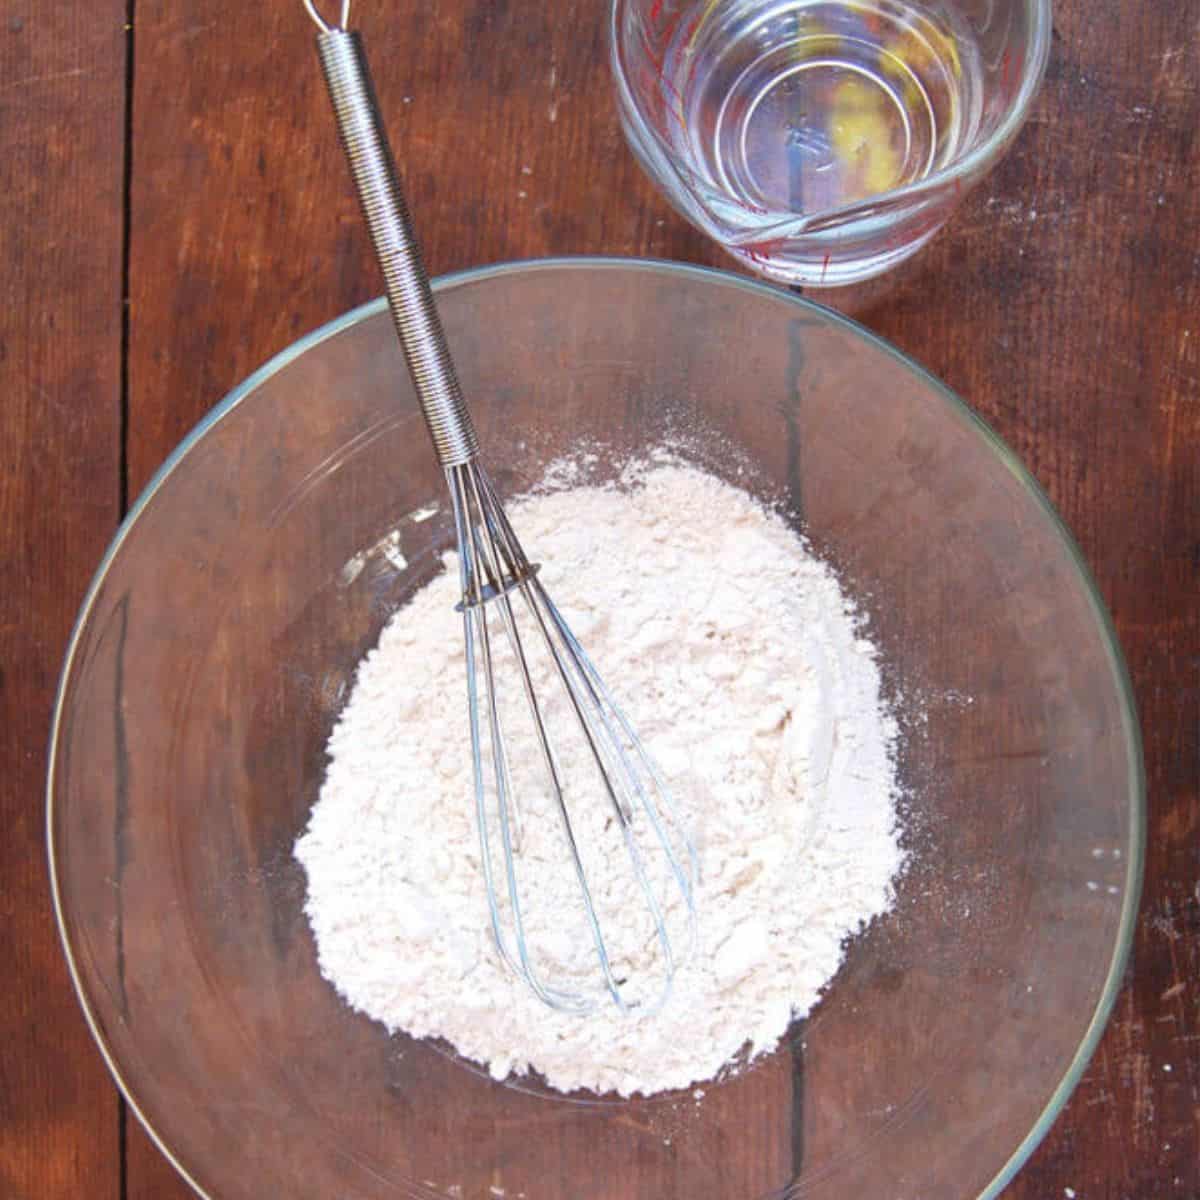
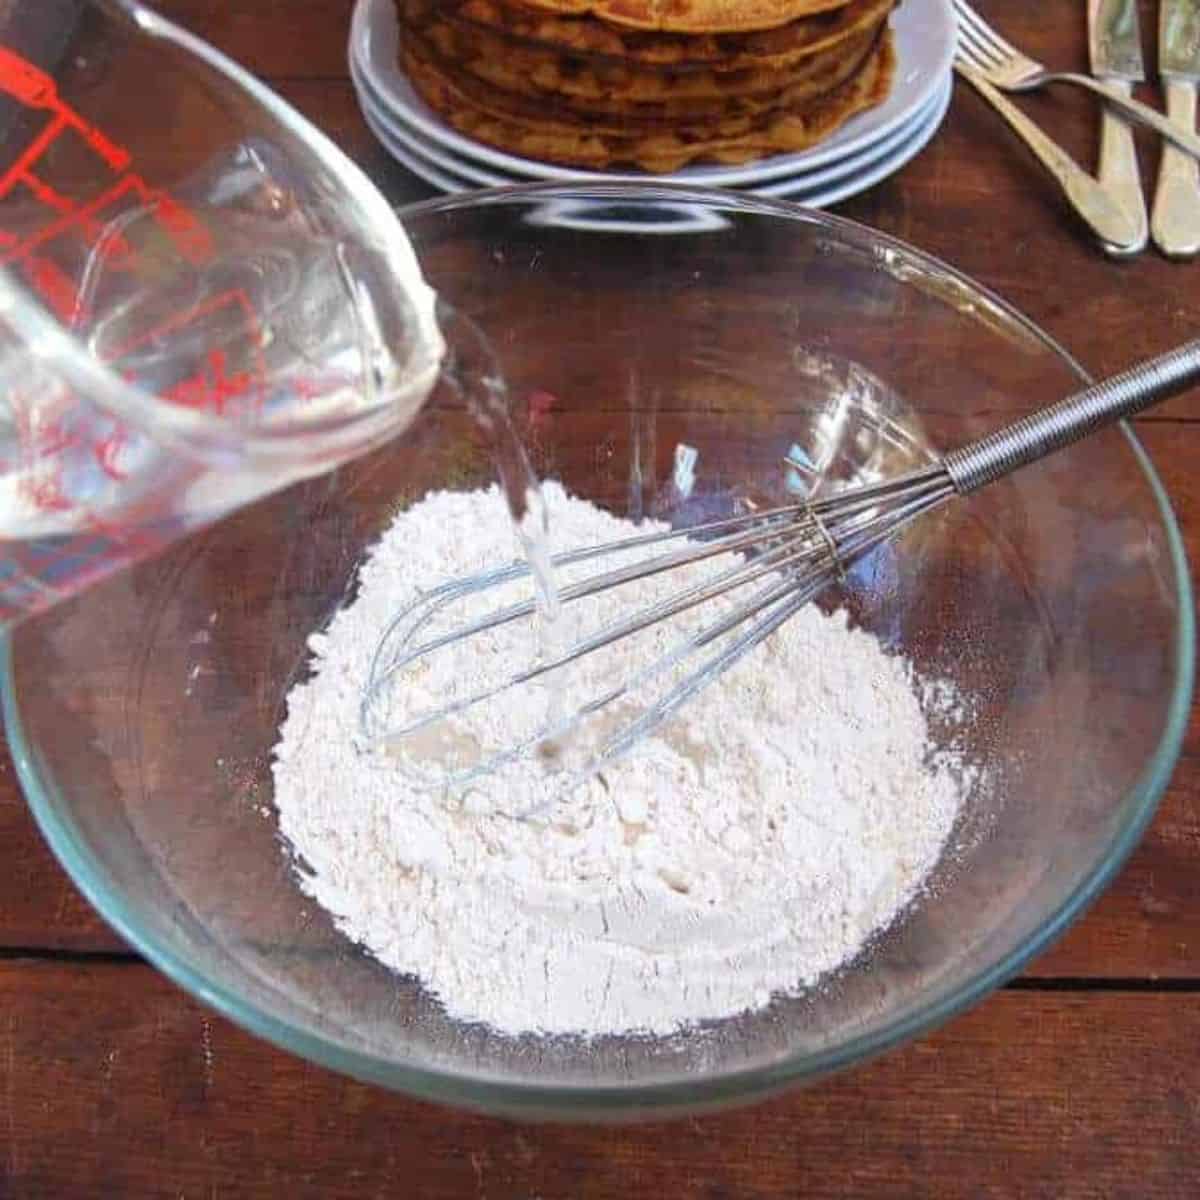
Glass or Ceramic Bowl. You will need a large bowl to mix and keep the starter as it develops. Whisk or fork. To whisk the water and flour together. Lidded glass or ceramic canister/jar/box. To store the developed starter in the refrigerator.
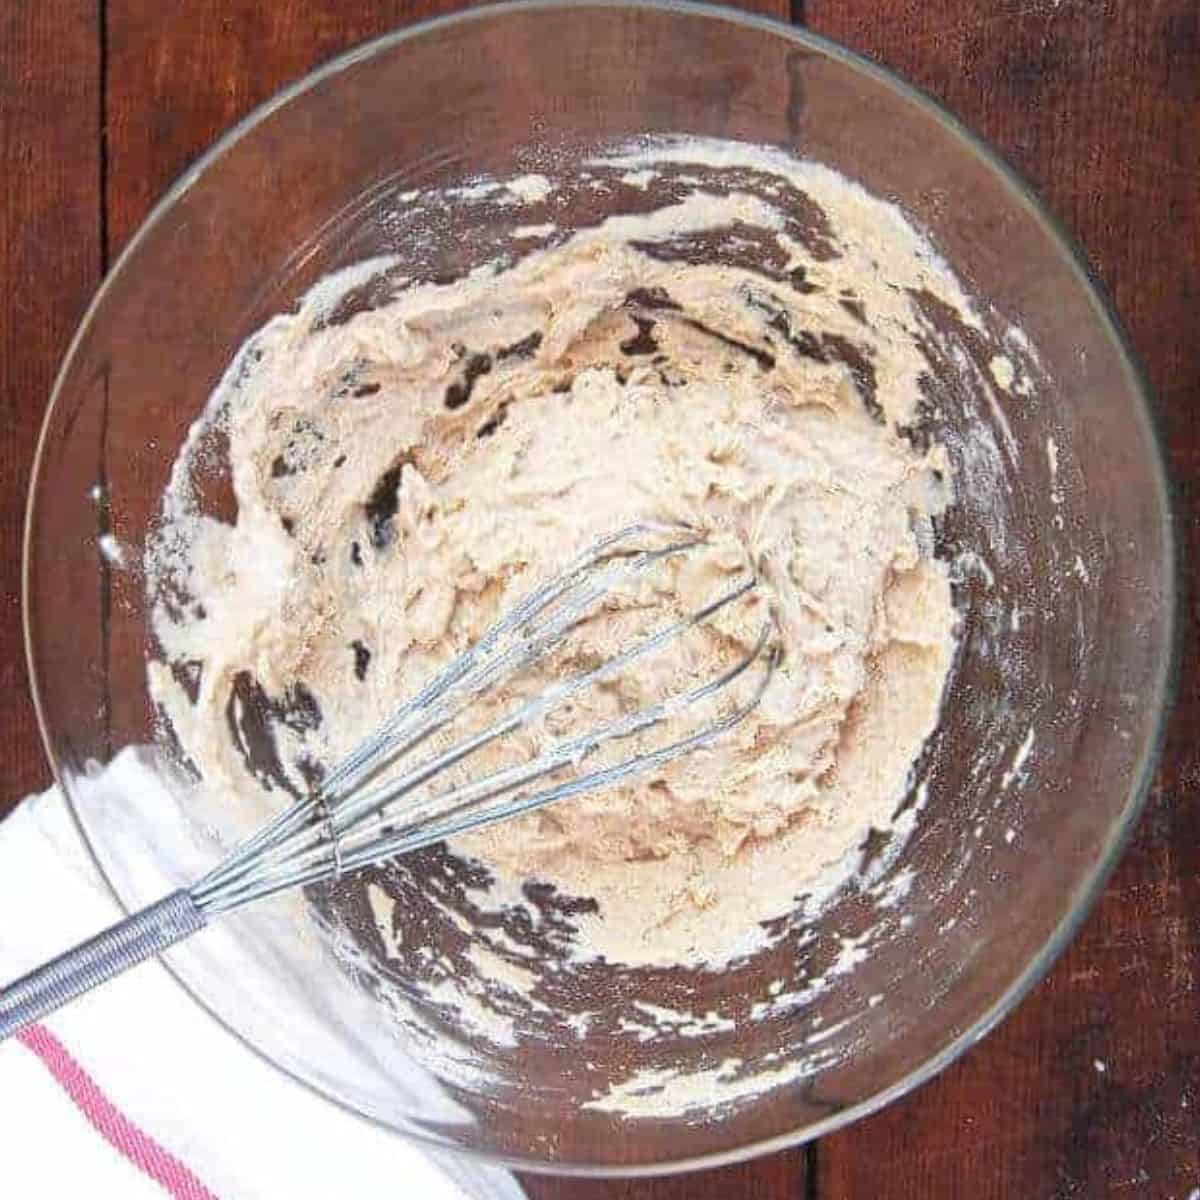
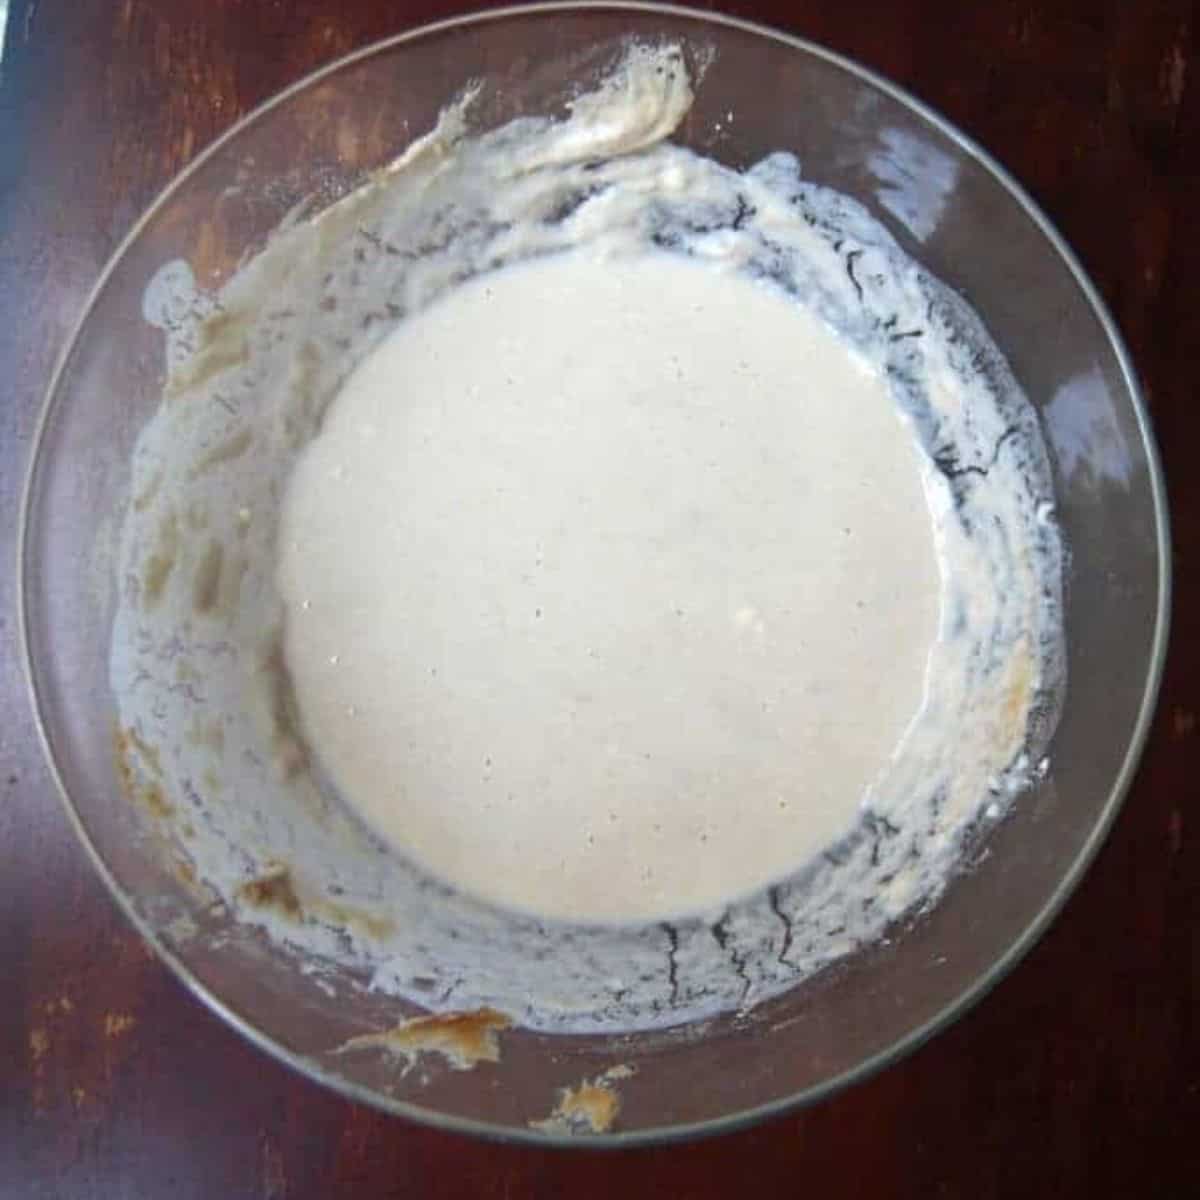
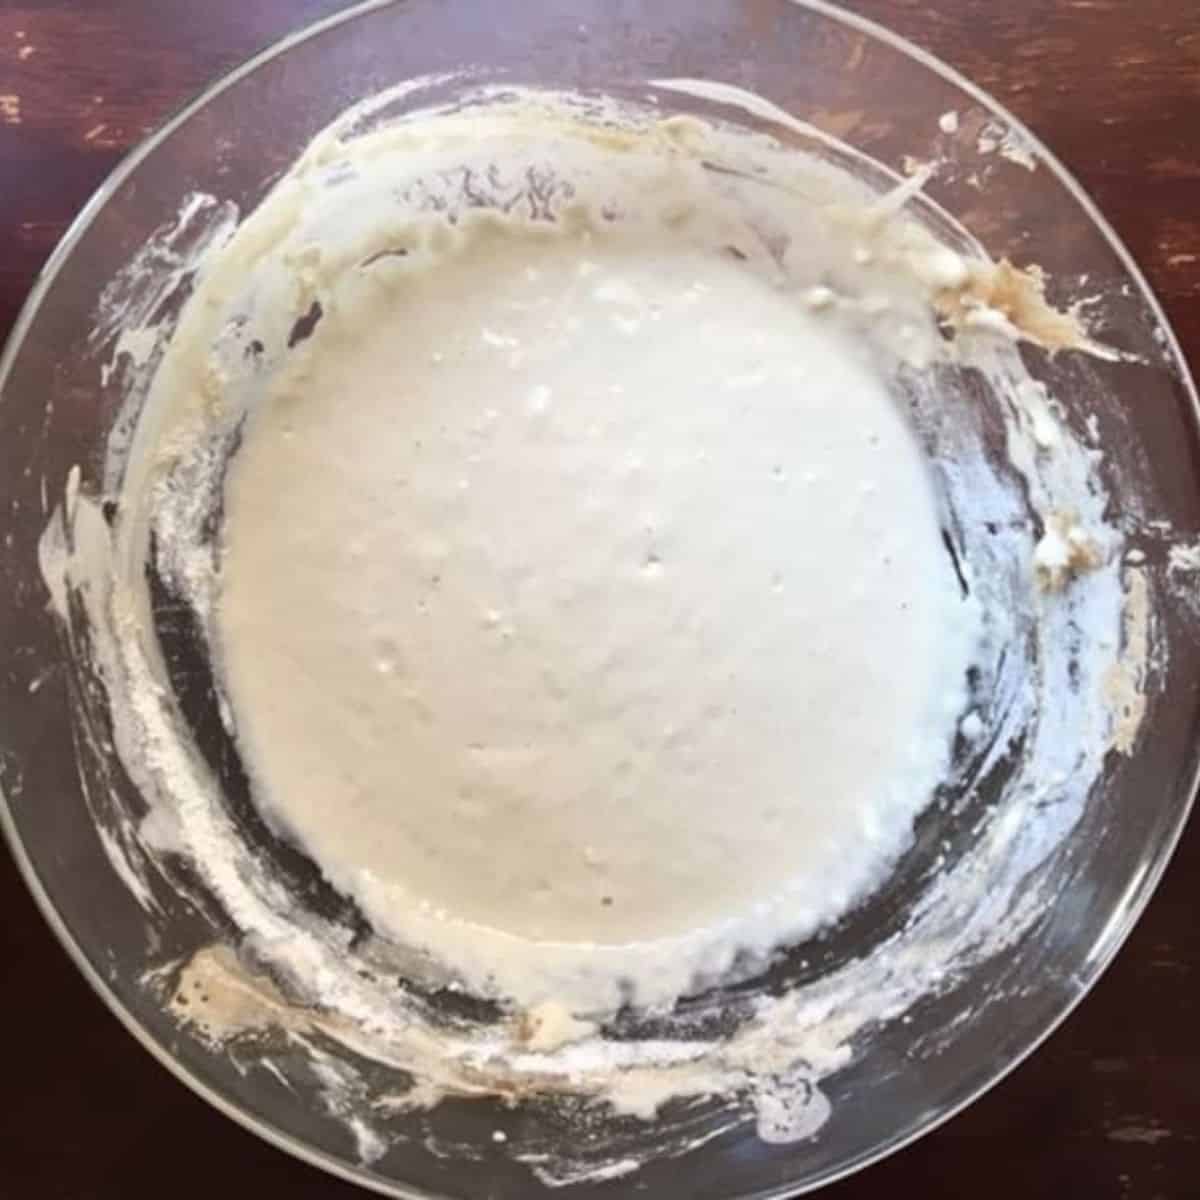
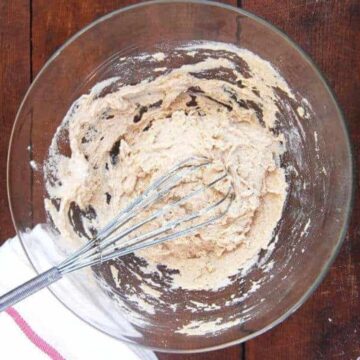
How to make sourdough starter
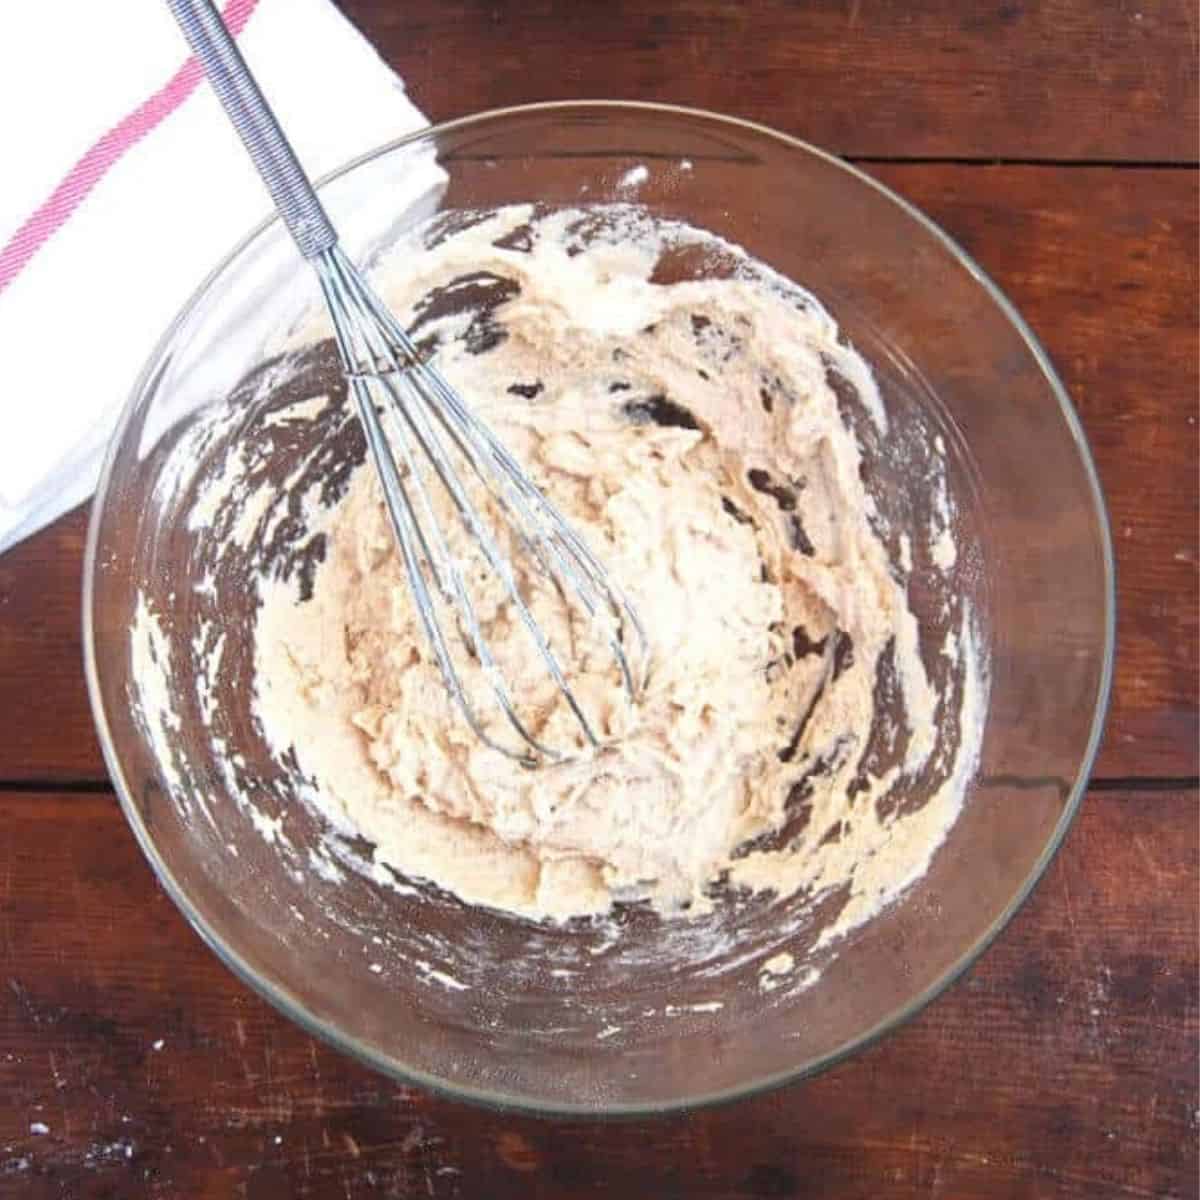
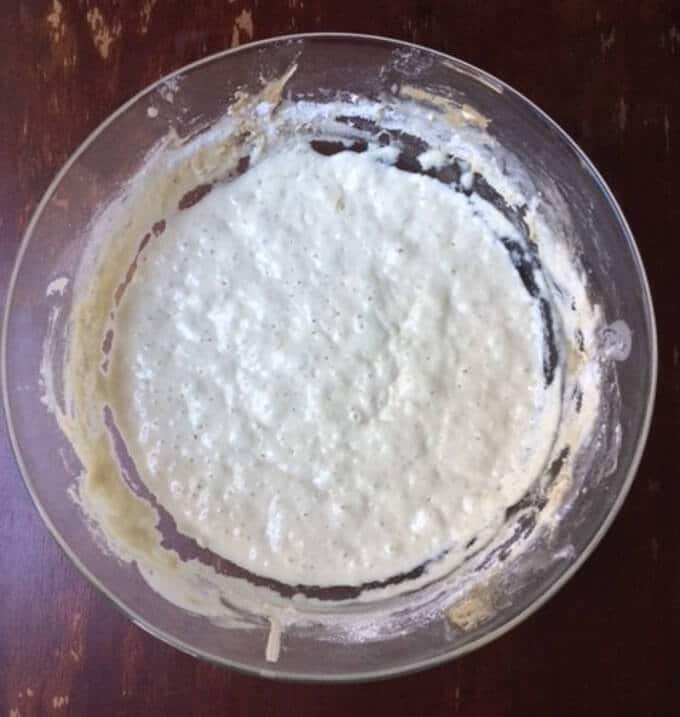
Day 1
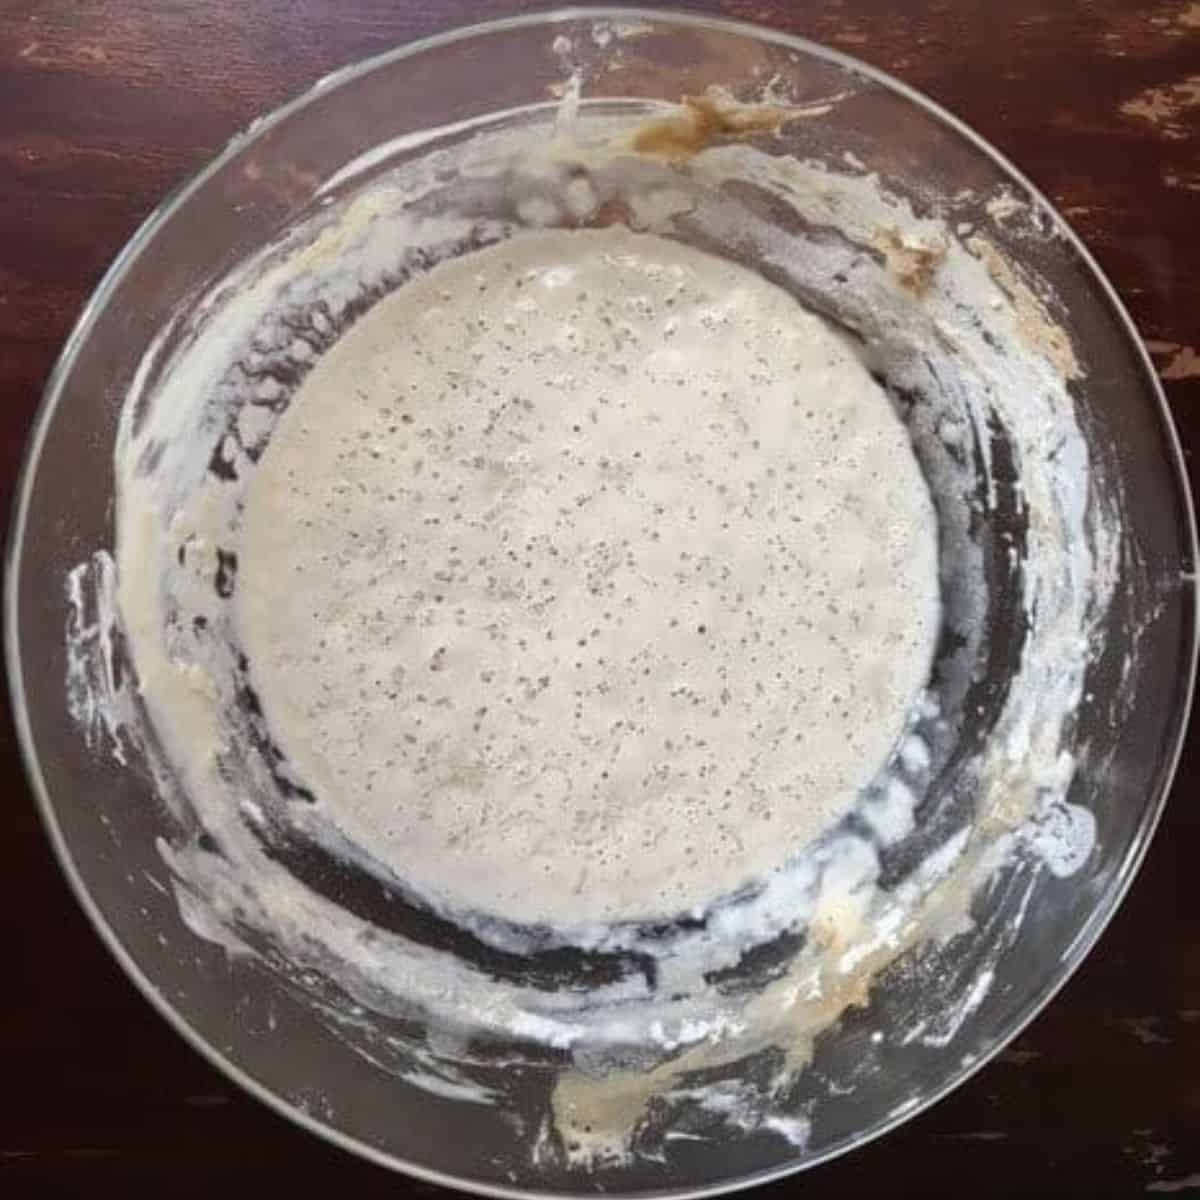
Day 2
Day 3
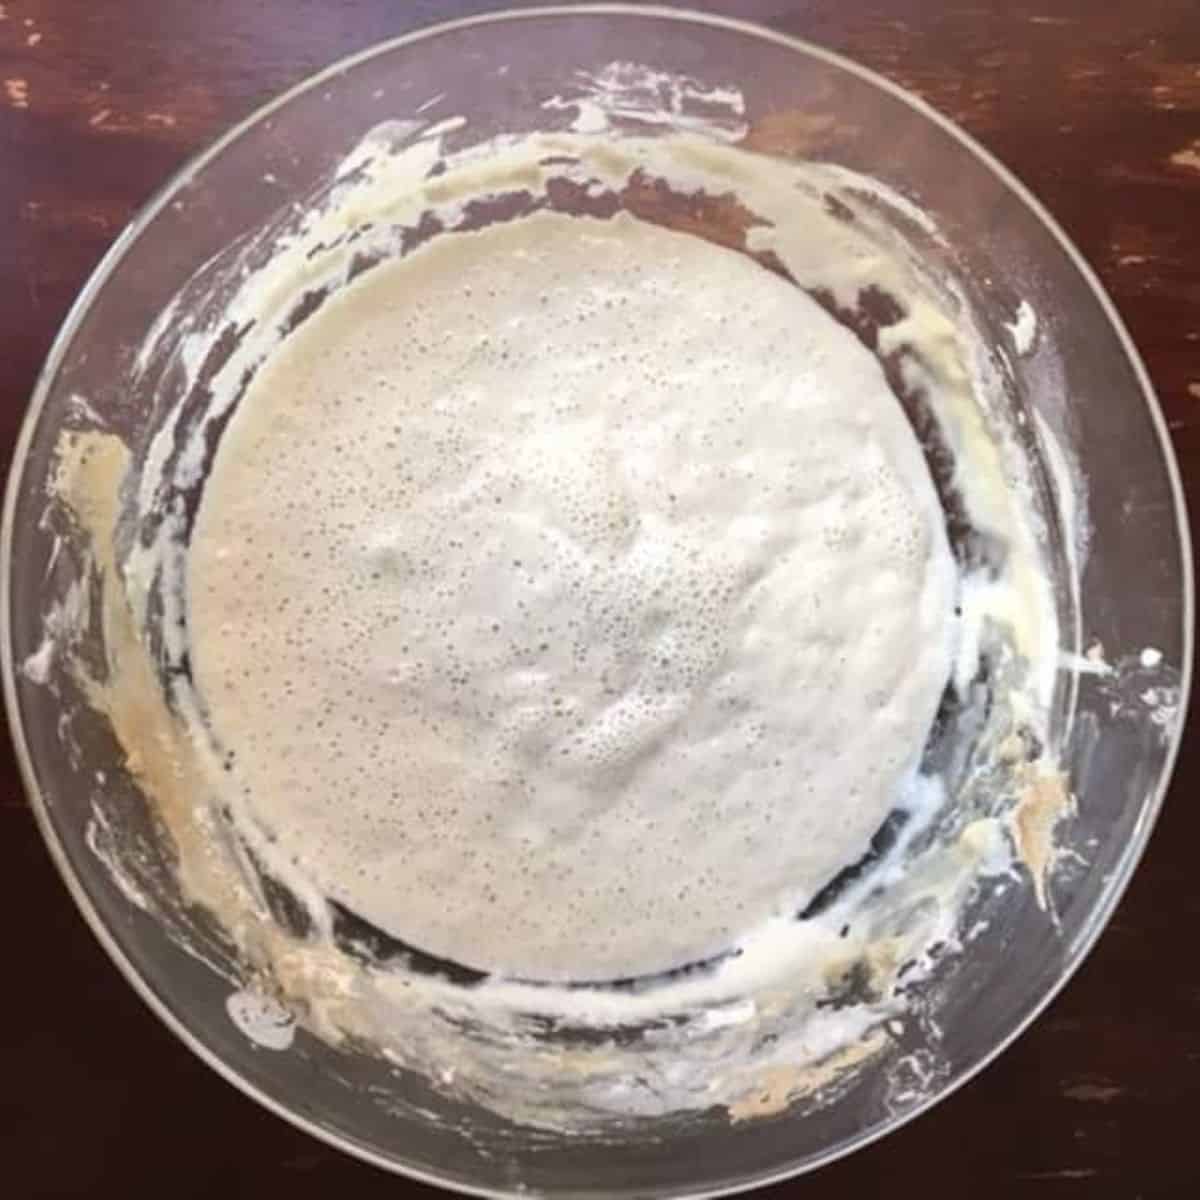
Day 4
Day 5
Day 6
Day 7
How to use sourdough starter
To use the starter, mix it well, especially if some of the liquid has separated on the top. Then take out about the amount of sourdough starter you need to bake with, and replace it immediately. So if you take out 1 cup of sourdough, you should “feed” the remaining starter by adding to it cup of flour and ¾ cup of water. Keep in mind that if you make my sourdough recipe and bake a recipe for sourdough bread from another cookbook or blog, you should first check what the hydration—or water-to-flour ratio—of their starter is. So, for example, if the starter they used has a lower hydration, you might need to cut back on the liquid in the bread recipe when you make it. If it has a greater hydration, you might need to add more liquid. Check to get new recipe updates by email.
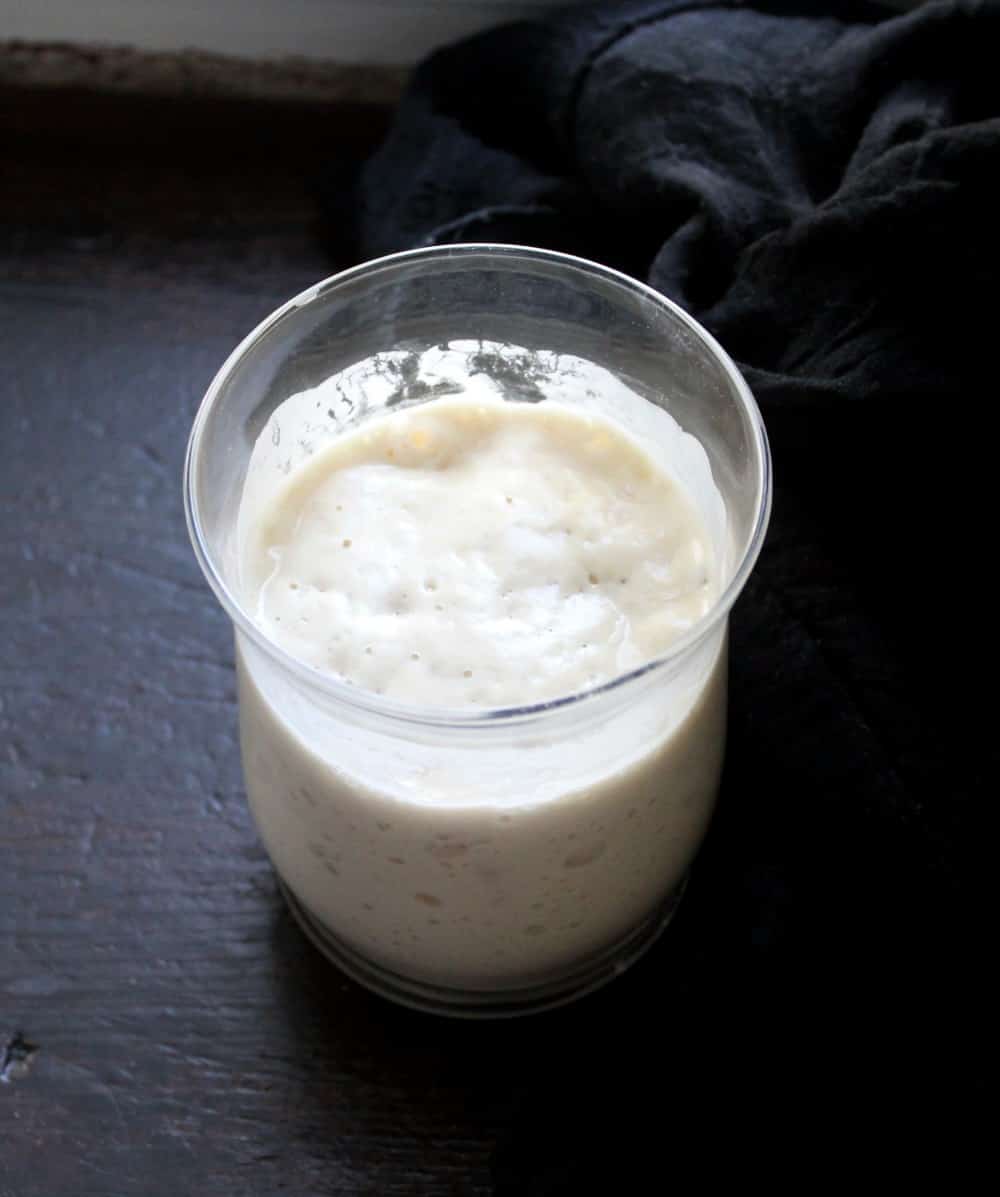
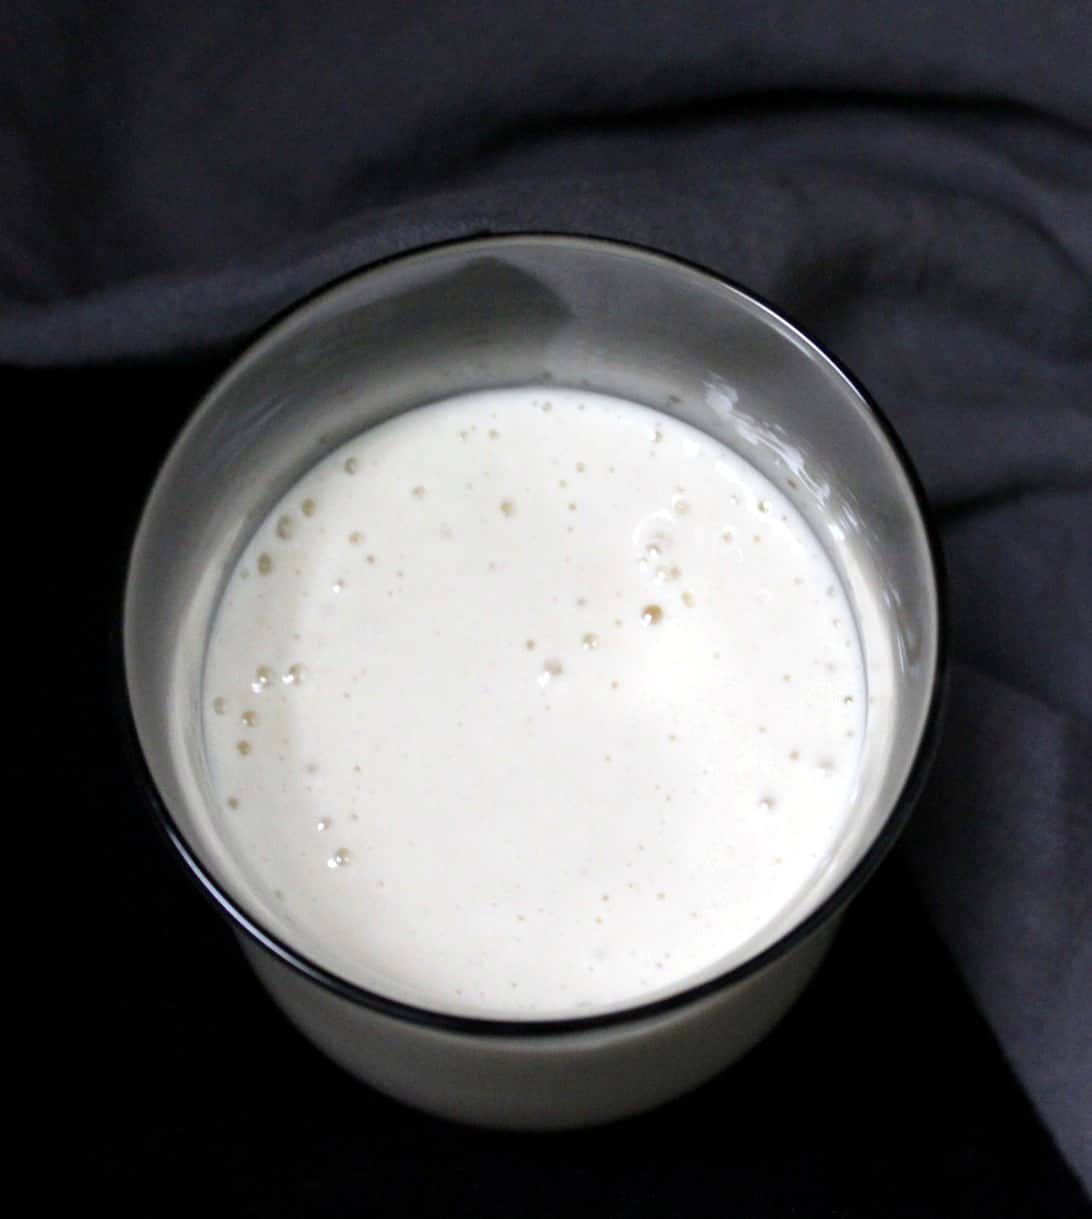
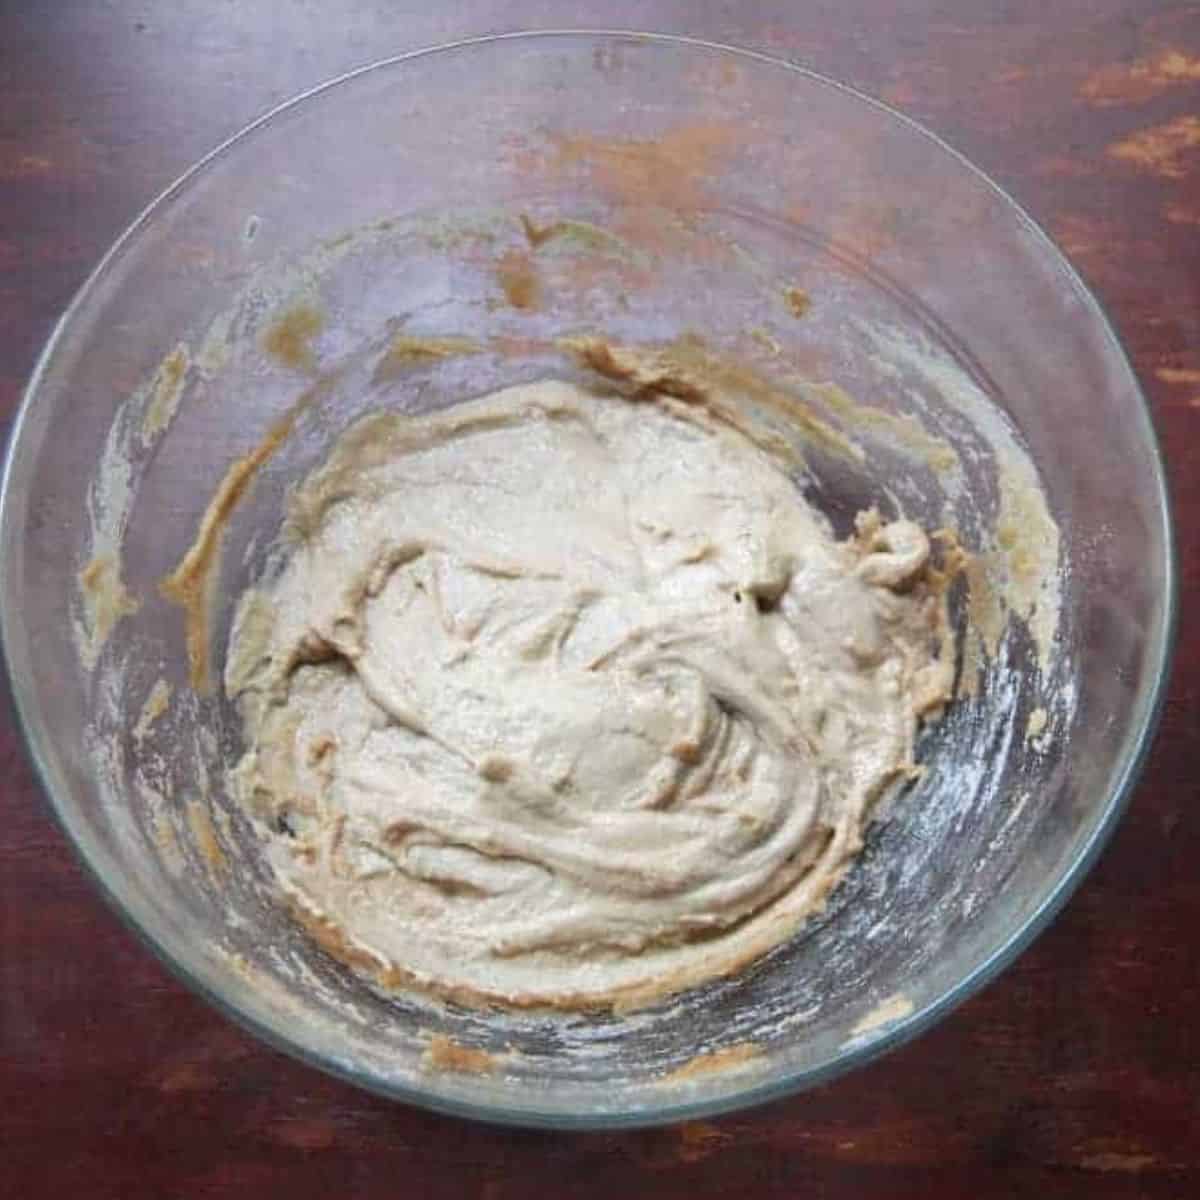
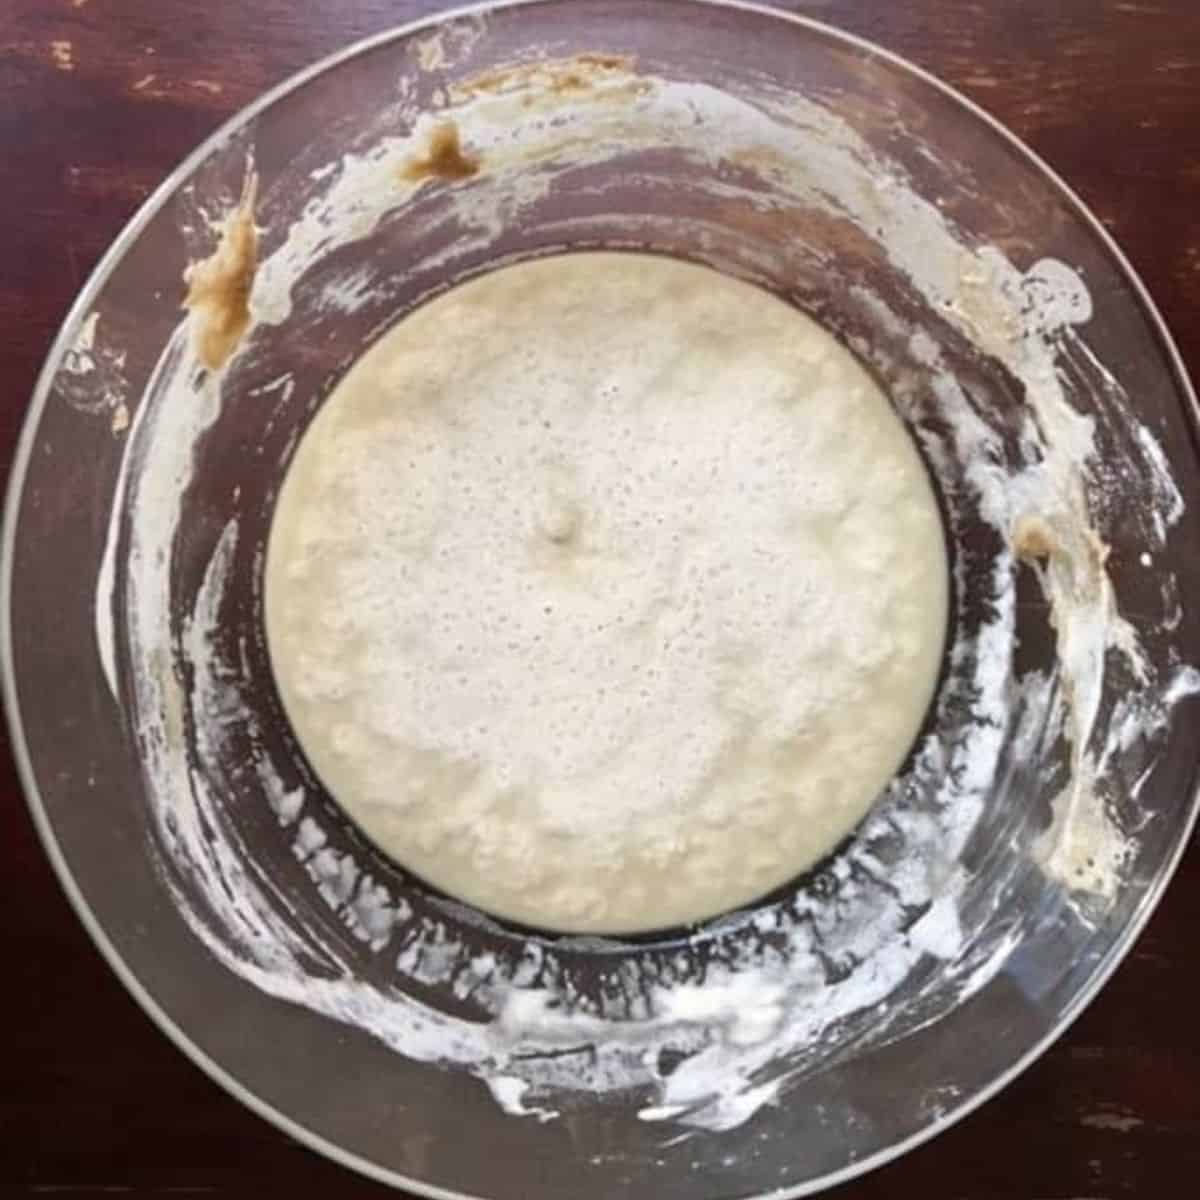
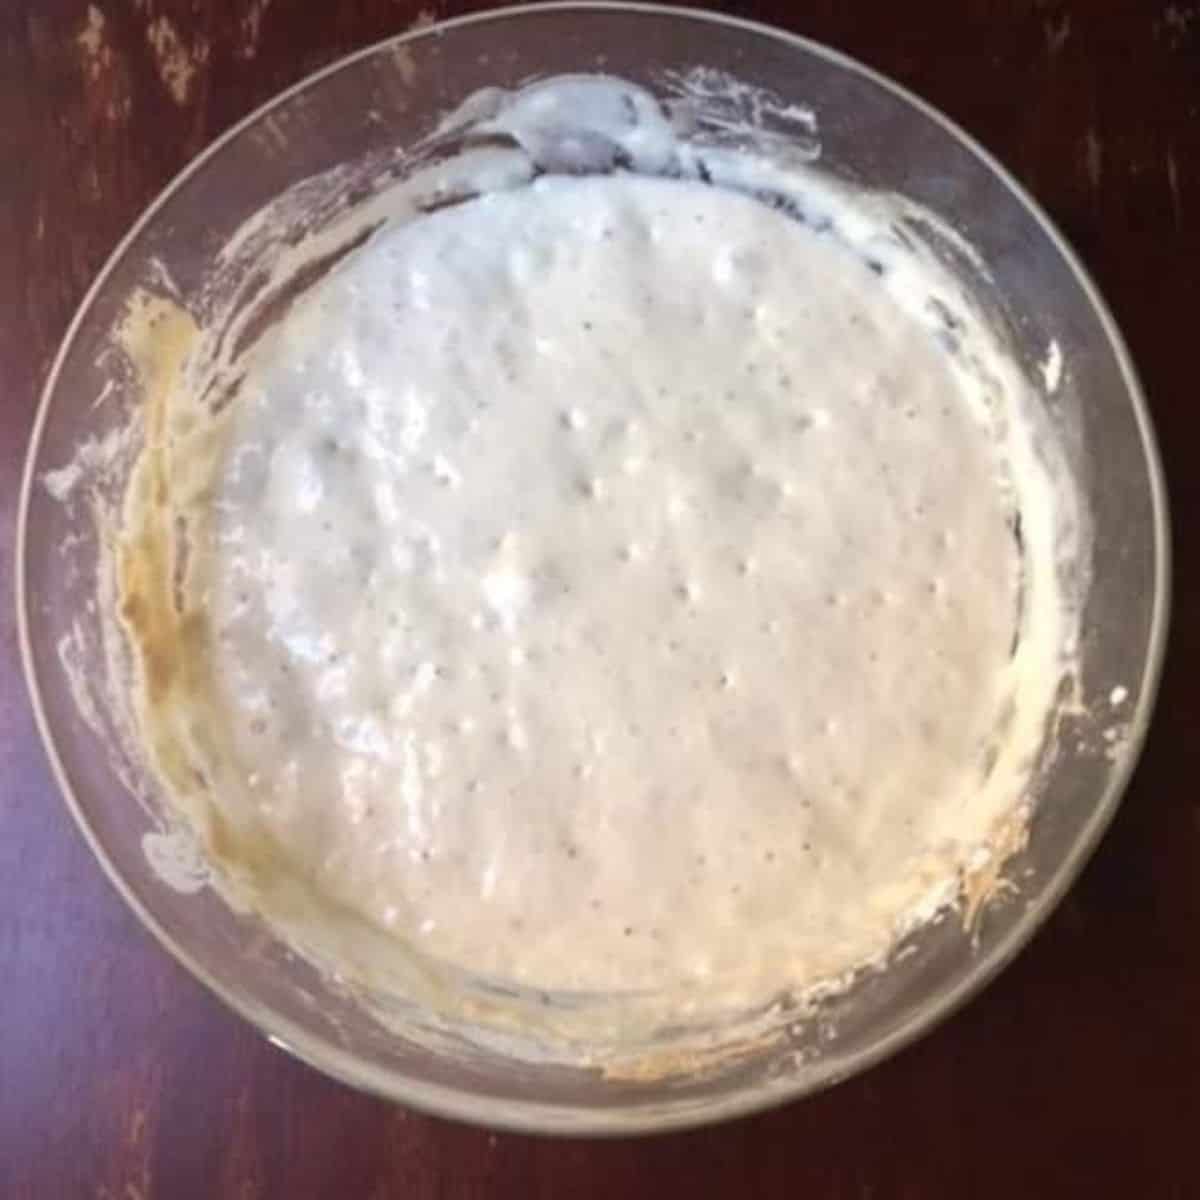
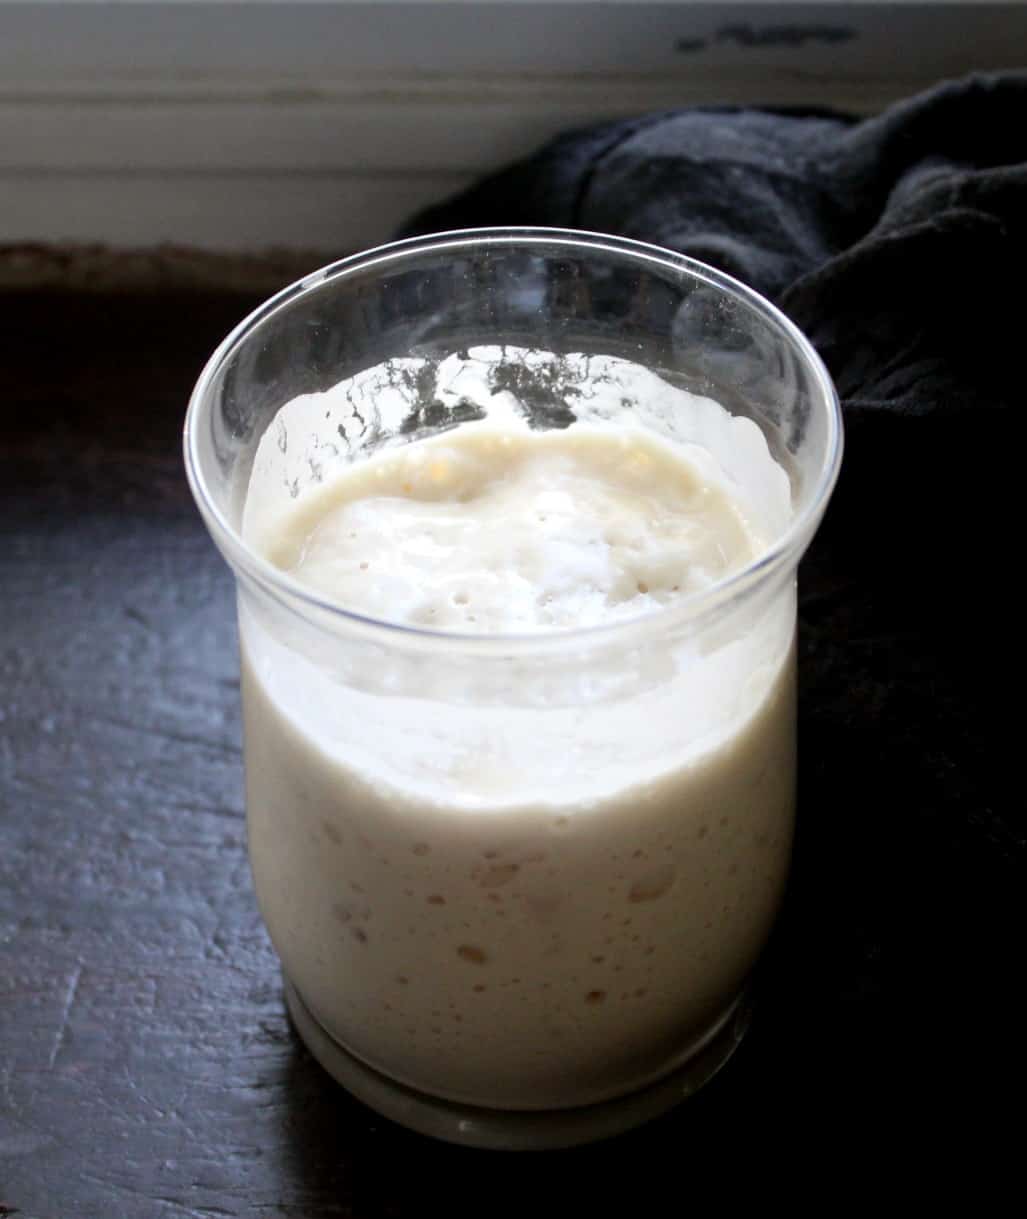
Here’s a picture of my mature sourdough starter, a couple of hours after feeding, and then a day after he was last fed. He rose overnight and was beginning to fall back in the morning.
How to feed sourdough starter
It is good practice to feed your sourdough starter each week so it’s ready–or close to ready–for baking at any time. But if you forget to feed it for a couple of weeks, or even for a month, don’t panic. You might be able to revive your starter so long as it’s not moldy and you refrigerated it in an airtight container. Don’t go too long without feeding it, though, and do it as soon as you remember.
Troubleshooting tips
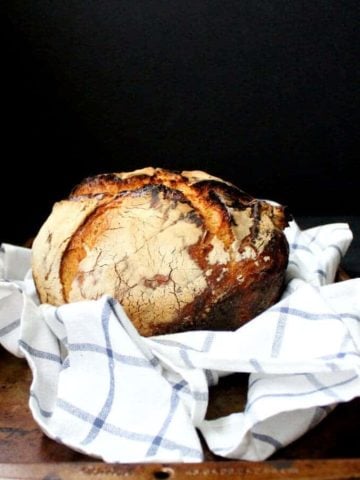
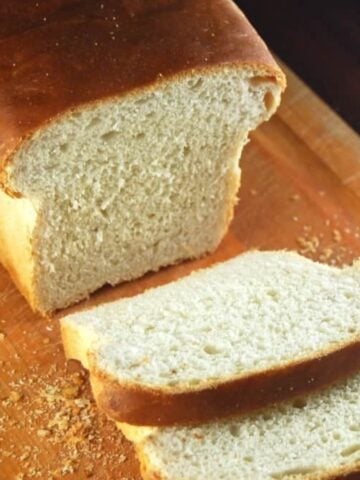
Recipes to make with sourdough starter
Recipe card