You might also like these recipes for vegan sourdough sandwich bread and high protein sandwich bread. A recipe for a good, basic, hearty sandwich bread is a necessary tool for every home baker. Today, I want to re-share with you my recipe for a basic white–or part whole-wheat–vegan sandwich bread. This is a foolproof recipe that is easy to make and is guaranteed to give you great results each time. When I first posted this recipe nearly 11 years ago, I shared some tips for new bakers. While most of you likely don’t need them, I realize that at this extraordinary time many more of us are cooking, and baking, more at home. So I am going to retain these tips and add to them from my own improved experience over the years that have lapsed. Bread-baking can sometimes seem daunting to even a veteran baker, because you are not always entirely in control of your recipe. There are so many things to think of, including the weather. The moisture in the air when you bake, the temperature outside and in your home, will all determine how your bread turns out. And unless you are experienced with doing this over and over, you may not always know what’s going on or how to modify your recipe or technique so you don’t end up with bread that won’t rise or bread that’s more like a rock than anything you can eat. My own journey to becoming an experienced home bread baker has not been free of pitfalls, but the only reason I can bake a successful loaf today is because I didn’t give up. And that’s an important thing to remember. You may not make the best loaf of bread the first time you bake, but stick at it and you’ll get there.
Tips for baking bread:
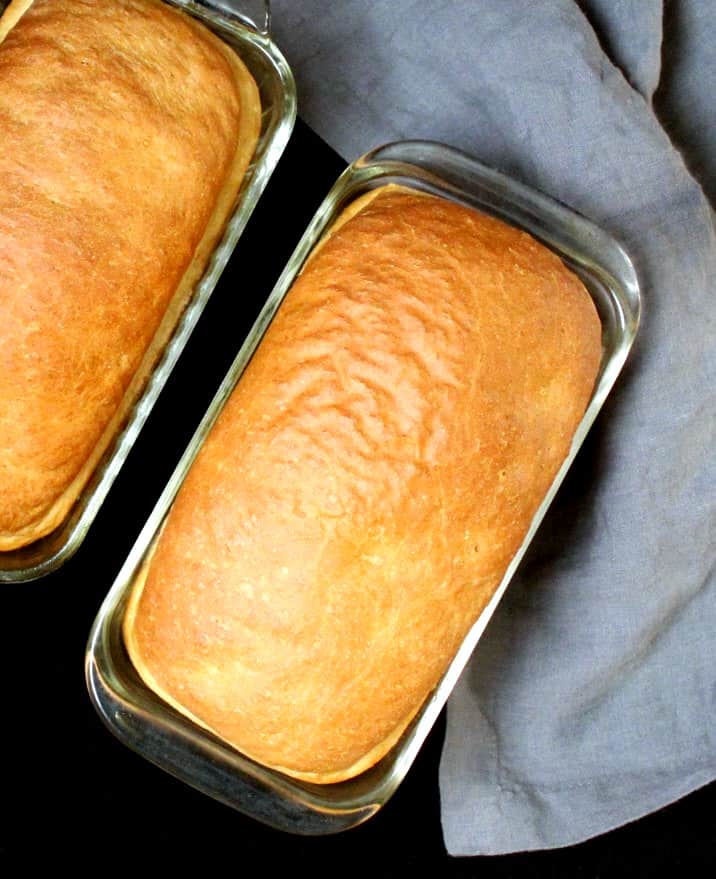
It all begins with the yeast. I use active dry yeast in all my recipes and I usually buy a big packet of it from Costco. I put it in a jar and freeze it, and it can last a very, very long time this way. When ready to use, measure out your yeast, add lukewarm water (not hot), and make sure it “flowers” – that is, it bubbles up and becomes frothy after a few minutes. This means your yeast is alive and well and you are ready to move forward. If your yeast doesn’t bubble, your yeast is likely dead and you need to buy more. There’s one more thing I cannot stress enough to new bakers: follow the recipe instructions carefully. You’ve probably heard this cliche before, including from me, and it’s quite true: baking is a science, unlike cooking, which is more of an art. A little substitution here and there can cause everything to go off-kilter. What flour you will use will also make a big difference to your bread. Most white breads are baked with all purpose flour or bread flour. Both are refined, but both make the best and lightest breads because they are packed with gluten and that helps your bread dough form great structure and rise effortlessly. Baking wholegrain breads is a little more complicated and that’s because such flours include the germ and the bran of the grain, which don’t have gluten. So ounce for ounce, whole grain flour has less gluten in it than refined flour does, see? What that means is there is less gluten in your dough and therefore less gluten to help your bread form great structure and rise. This does not, by any means, mean you should not bake with wholegrain at home. There are many ways to ensure your wholegrain breads turn out beautifully, and you can find some of my favorite recipes here, including this Whole Wheat French Bread and my Fast Whole Wheat Bread. When you follow a recipe, be sure to follow rise times as closely as possible. For instance, when the recipe asks you to let the dough rise for two hours, don’t let it rise for four, because it can seriously damage the structure of your bread. In some cases the rise time is less important, in which case the recipe will tell you so. But usually it does matter. That said, how fast your bread will rise also depends on how warm or cold your house it. On cold days it will take longer for the yeast to multiply and for the bread dough to rise, so just follow the rule of thumb of letting your dough double in size. To avoid too much guesswork, I place the dough, tightly covered, in a cold oven with the light on, which creates the right temperature for the dough to rise. Make sure you preheat the oven before baking bread. I can’t stress this enough because I know it feels like a waste of energy, but if you want your bread to bake as it should, you absolutely need the oven temperature to be where the recipe says it should be before you place the bread inside. Not doing so will result in a flat loaf, a dense loaf, and basically an inedible loaf. Also resist the temptation to open the oven while the bread is baking because the unexpected rush of cold air can cause your bread to act in ways you don’t want it to. Breads can sometimes tend to stick to the pans you bake them in, although most shouldn’t. If you find it challenging to get the bread out of the loaf pan, sprinkle some cornmeal on the sides after oiling the loaf, and then place the dough inside. This will make it much easier to unmold and you can brush off the cornmeal after your bread leaves the pan. Once your bread is out of the pan, cool it thoroughly on a rack before you slice it. Slicing warm bread is not recommended because the moisture in the bread still needs to dissipate and if you cut into it your bread won’t slice as well.
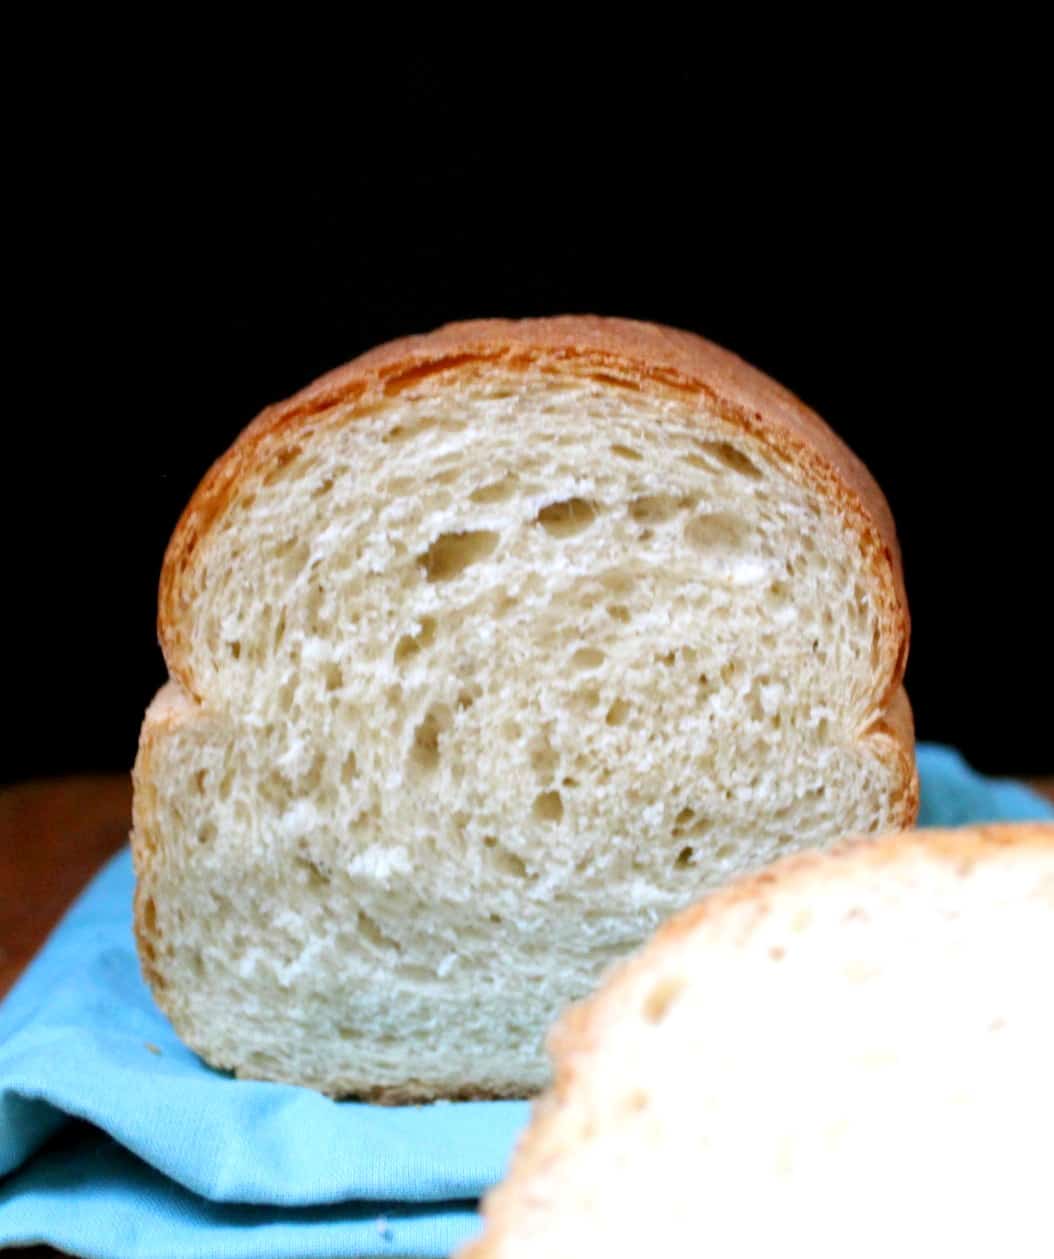
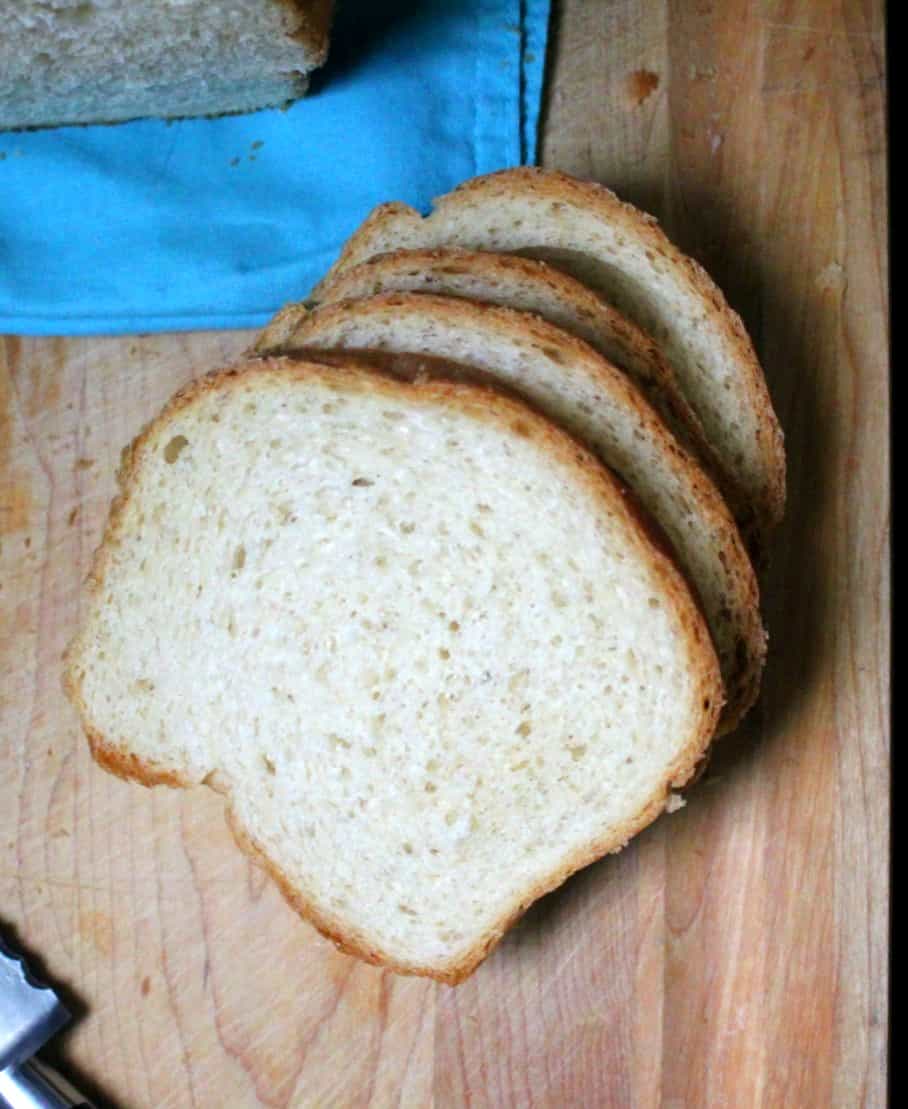
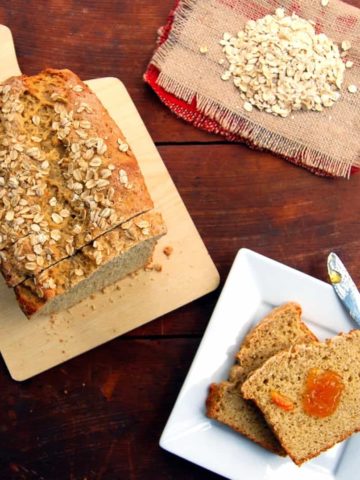
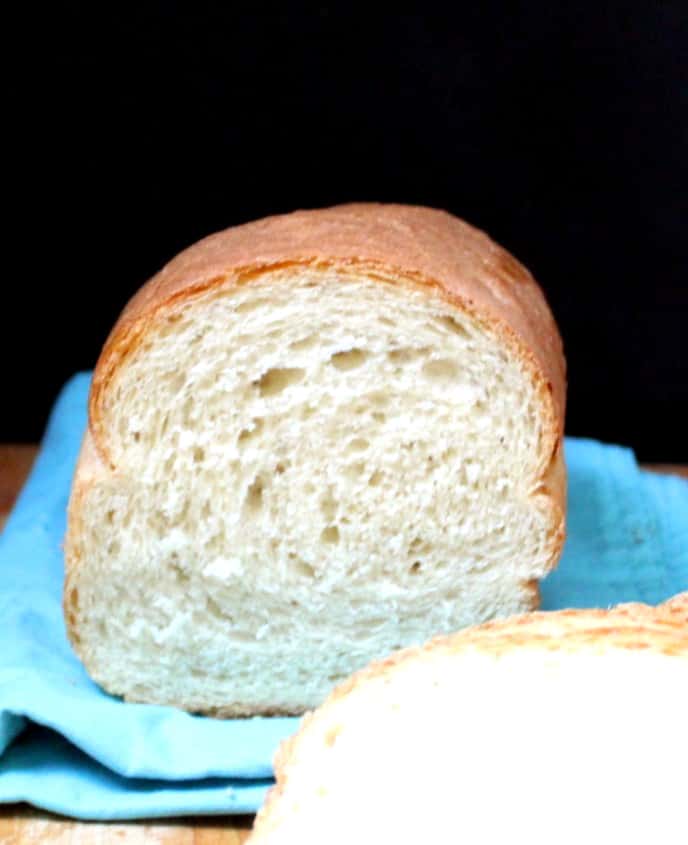
Whew. Now that I’ve got that out of the way, here is my perfect vegan sandwich bread recipe. This bread is really soft and delicious the day it’s baked, and it firms up just a little bit the next day, which makes it great for a sandwich or even better for toast. Slather on a touch of banana jam or raspberry jam for the perfect snack. Check to get new recipe updates by email.
It stays fresh in the fridge for at least a week, and – best of all– unlike most store-bought bread, it has no preservatives. Although these days I mostly bake with sourdough (you can find my sourdough starter recipe here as well as recipes for all of my sourdough breads here), this sandwich bread is not one I will ever stop making. It’s just that good.
More vegan bread recipes
Recipe card