on Nov 18, 2020 Are you wondering if there’s anything an Instant Pot can’t do? We’re in the same boat. We LOVE our multi-cooker so much that we are currently on a quest to explore all of its capabilities. Just when we thought that the Instant Pot might not be able to help us out in the baking world, we found a genius use of the Yogurt feature on the Instant Pot. We were bitten by the baking bread bug this year and of course we wanted to experiment with the Instant Pot. We used the Instant Pot to proof our bread. That’s right! The Instant Pot can do this too. But first let’s figure out what bread proofing is.
What do you mean by proofing bread?
Proofing bread or proving bread is a technical bread baking term that basically refers to the process wherein the bread dough ferments and rises giving it that beautiful airy texture. It is during this stage where the gluten in the flour develops and the yeast present in the dough reacts with the sugars to produce CO2. And this emission of carbon dioxide causes the dough to rise giving it a light and porous texture. Most breads are proofed or fermented twice. This is mainly done because the first fermentation usually creates large air gaps. Hence post the first fermentation, the dough is knocked down, shaped accordingly and then allowed to proof again. This results in smaller air gaps and a more even crumb and crust. In this hack, we’ll show you how to use the Instant Pot for the first fermentation.
Instant Pot Method to Proofing Bread
Some of you may know that restaurants and hotels use commercial proofers. These proofers provide the right atmosphere, temperature and humidity, for the yeast to do its thing. To explore the scientific aspect of it, proofing chambers maintain a temperature of 30-40 C along with relative humidity of 75-80%. These are the most ideal conditions for the yeast to grow. Here’s where the real magic happens. The Instant Pot has a Yogurt function that was essentially meant to ferment milk into yogurt. This means that it acts as a fermentation chamber, providing the right atmosphere for the bacteria to ferment. Perfect for us cause these conditions are similar to what a bread dough needs. And that’s precisely why this method works.
Proofing bread in the Instant Pot
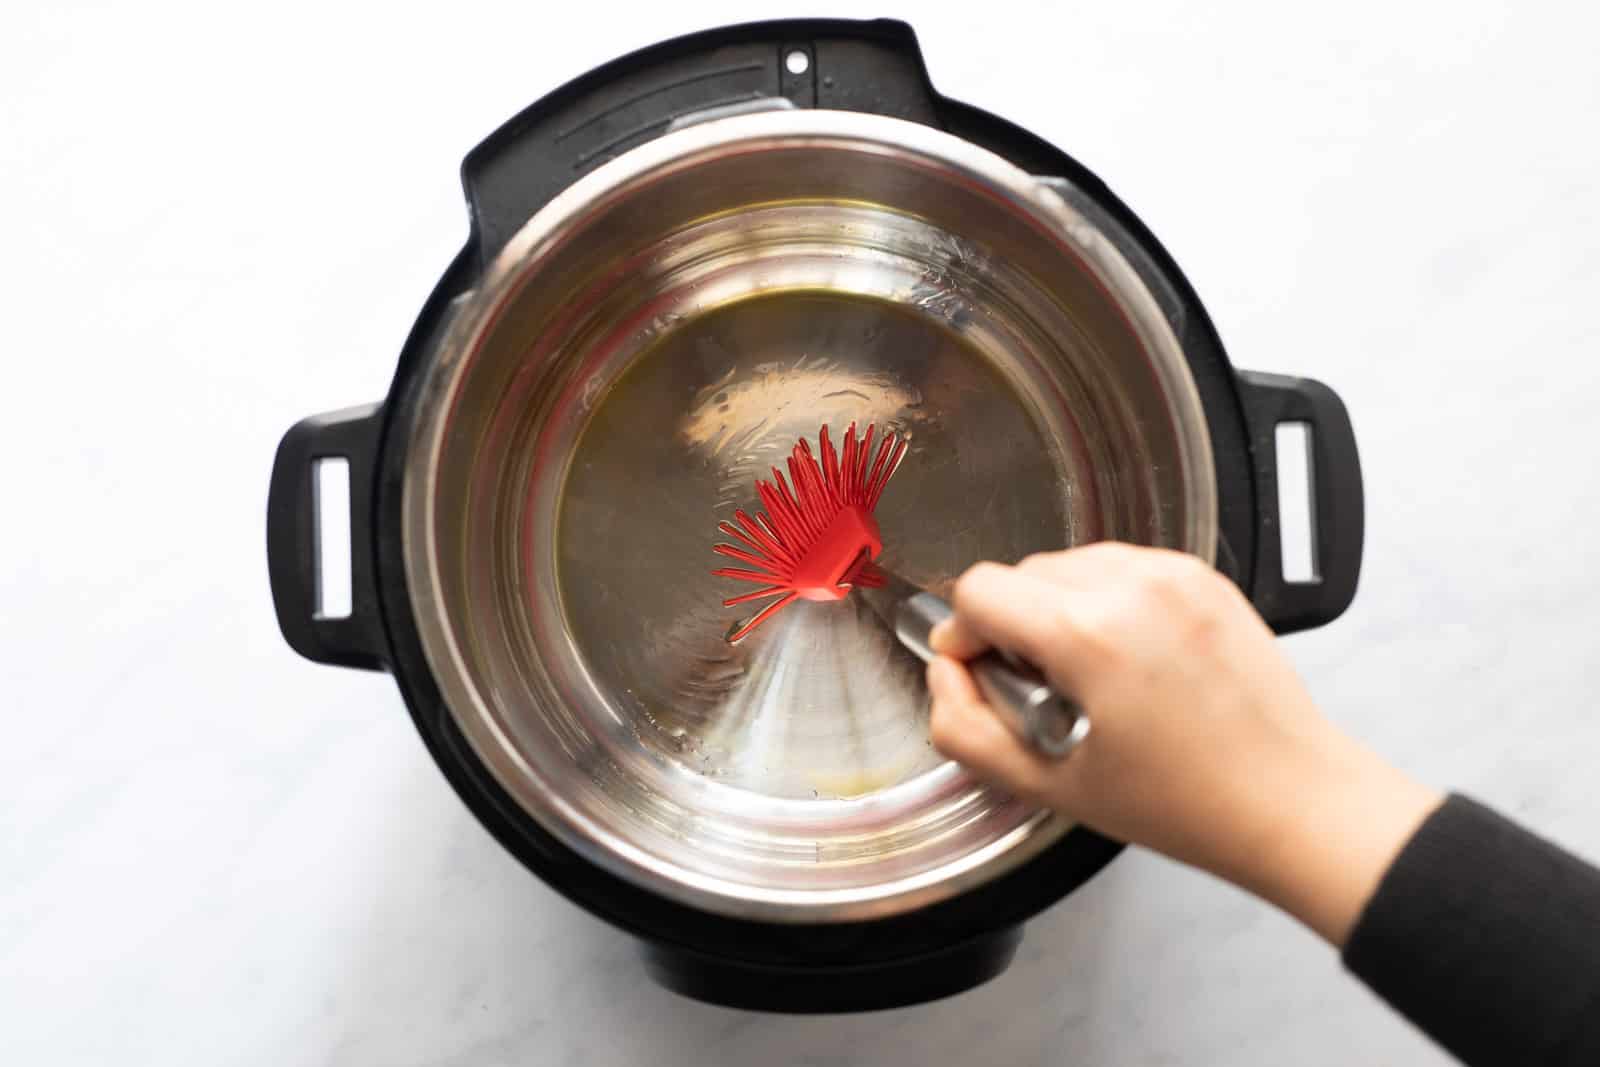
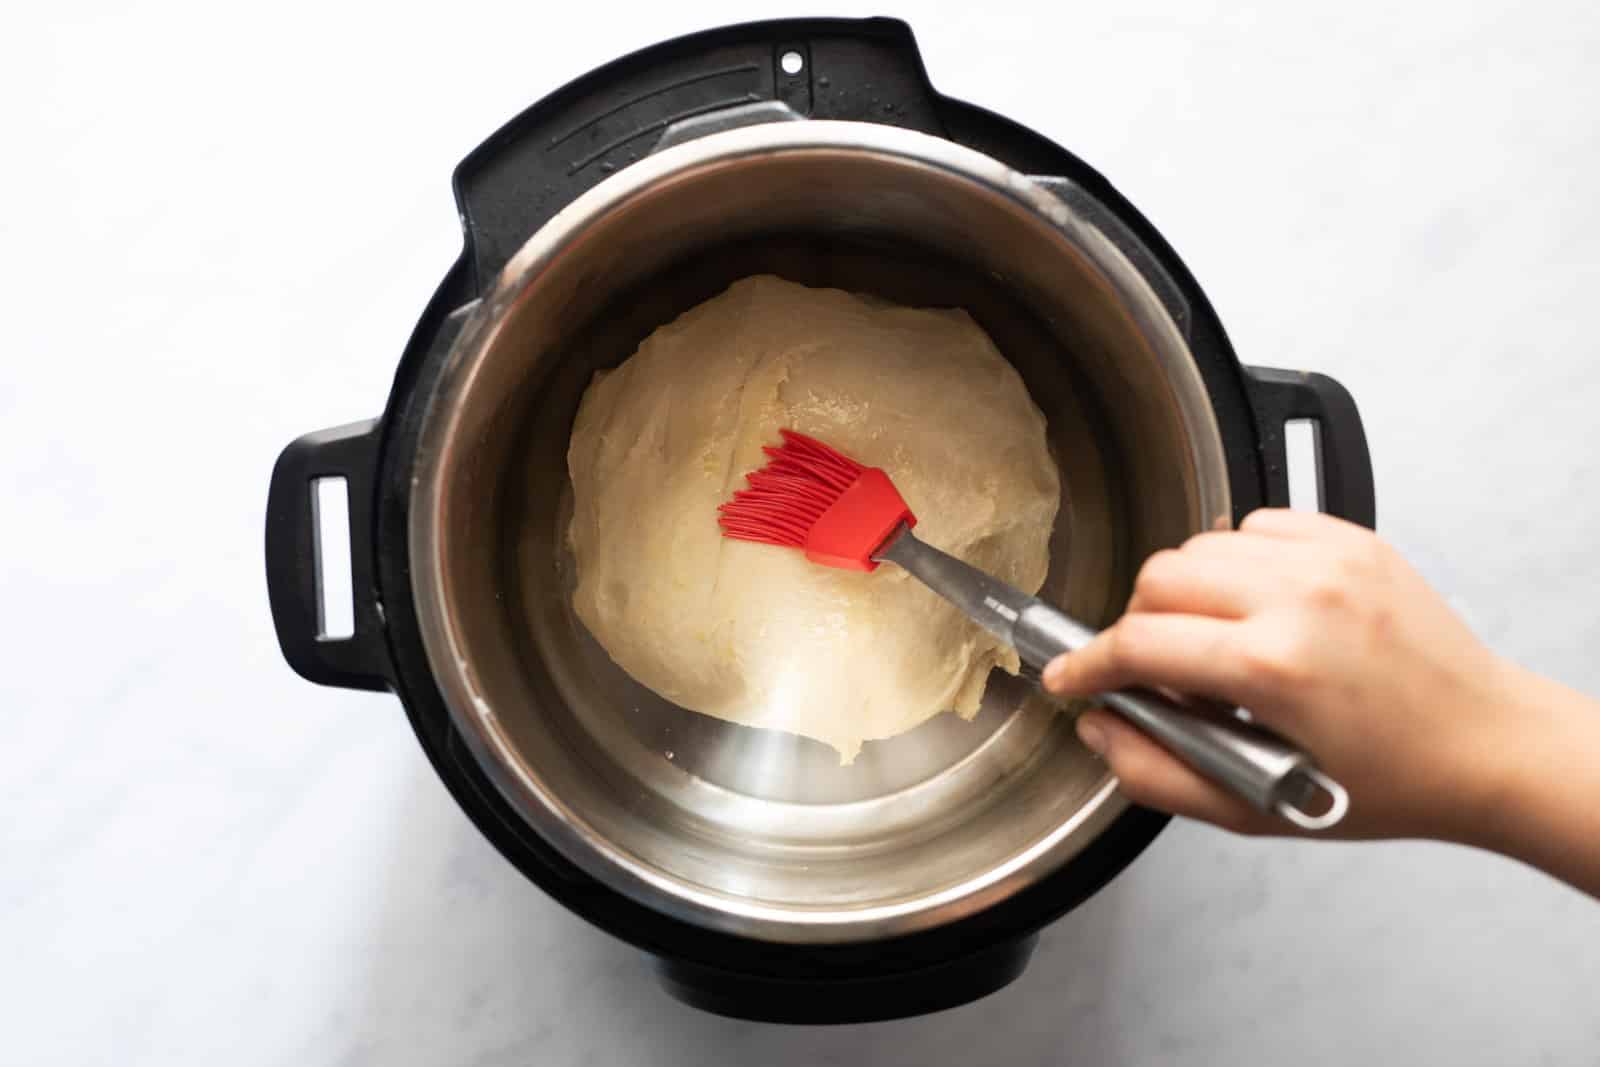
Lightly brush the steel insert that comes with the Instant Pot and place the dough in it. Also oil the top of the dough lightly.
Cover the insert with a glass lid or a sheet of aluminium foil. A glass lid helps you see how the dough is doing. We don’t recommend using the lid that comes with Instant Pot because large amounts of dough can sometimes get stuck to the lid and lock it, making it difficult to open it and clean it later.
Select the Yogurt function on LOW and set an external timer. The timer on the instant pot doesn’t beep when you use the Yogurt function Once done remove and shape or bake away as per the recipe.
How long do I proof the dough for?
The rule of thumb is to let the dough proof till it becomes double the size. For the Instant Pot method, you halve the time given in a standard recipe which calls for countertop dough proofing. For example, we used our Pepperoni Cheese Bombs which calls for 1-1.5 hours of bench resting. The same dough in the Instant Pot took us 30 minutes. Hence, 1-1.5 hours would mean 30-45 minutes. This means 30 minutes is the base line and you can begin to check and see when the dough has reached the right size. More than 45 minutes would mean the dough has been over proofed!
How do I know the dough has proofed?
It’s best if you are able to tell that the size has doubled. If you aren’t able to judge based on that, then here’s another thing you can try. Using your fingertip or your knuckles, lightly poke the dough and if:
the dent bounces back quickly then it needs to proof for a while longerthe dent collapses then it has over proofedthe dent bounces back slowly and almost returns to its original shape, then it’s ready to go!
How do I know the dough has doubled in size?
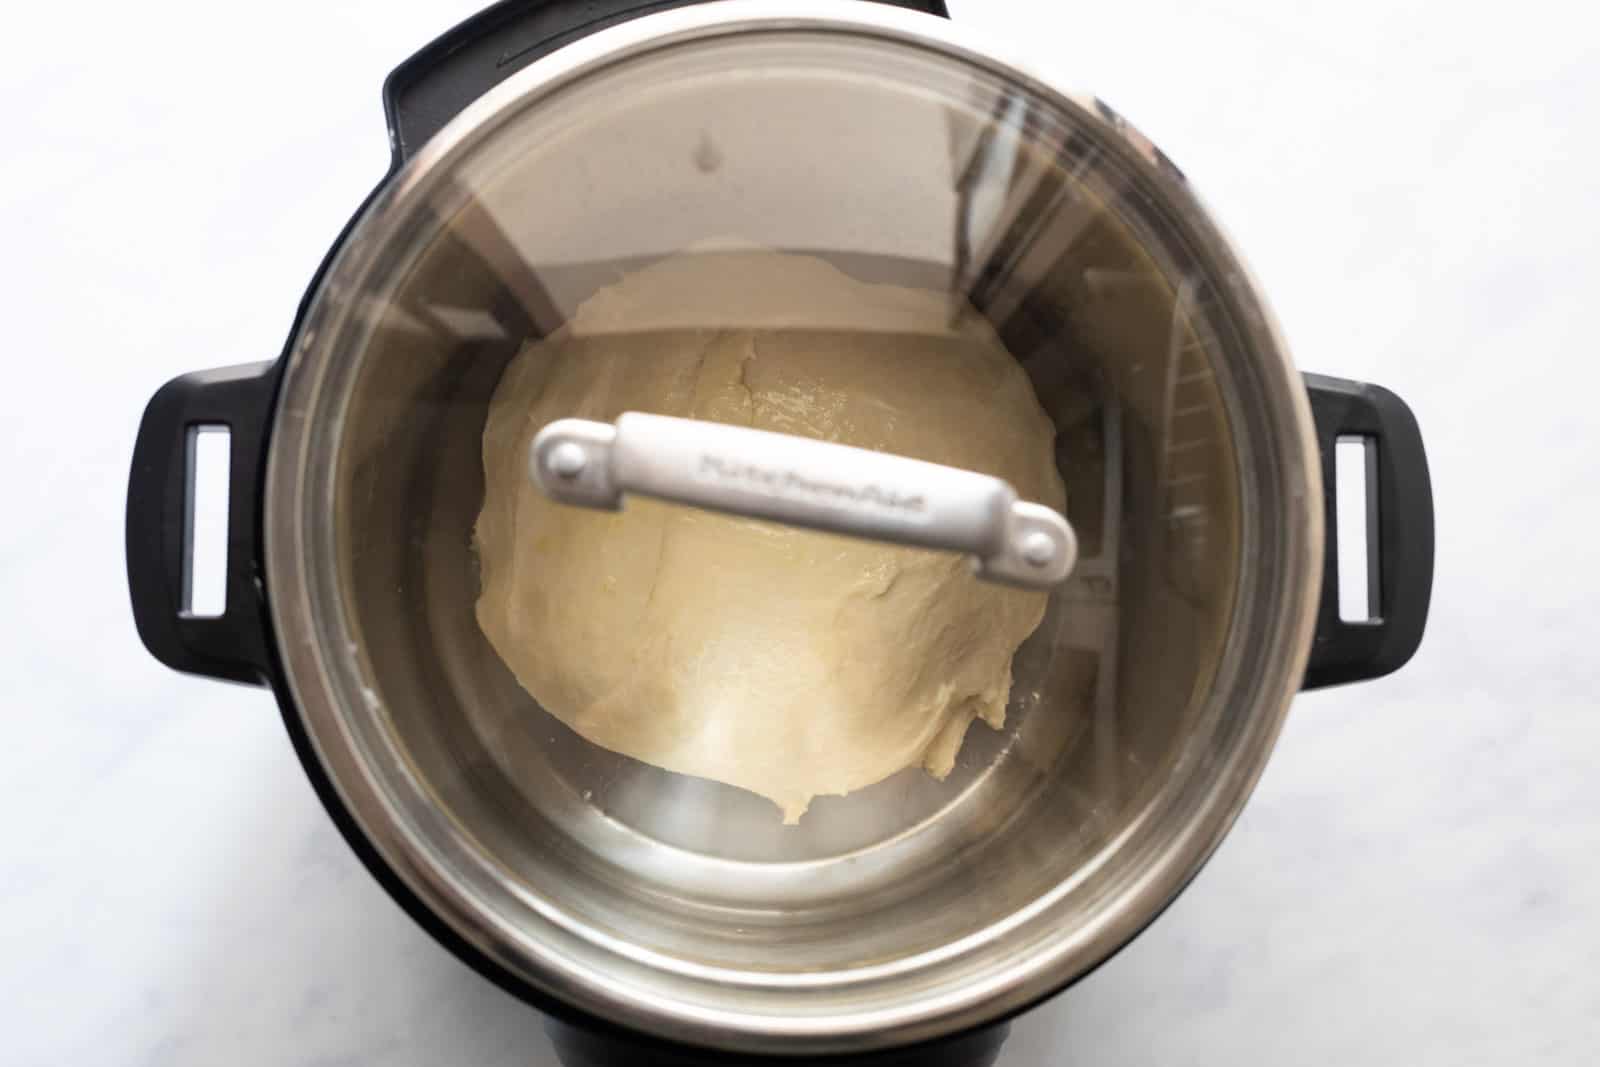
It’s best to use a container that has markings or a container where you can make markings on the side. This would definitely give you more accurate results. For this method, we used the Instant Pot insert. The insert has clear markings on the side, but more than that, it’s easy to tell visually that the dough has proved.
Can you prove shaped dough?
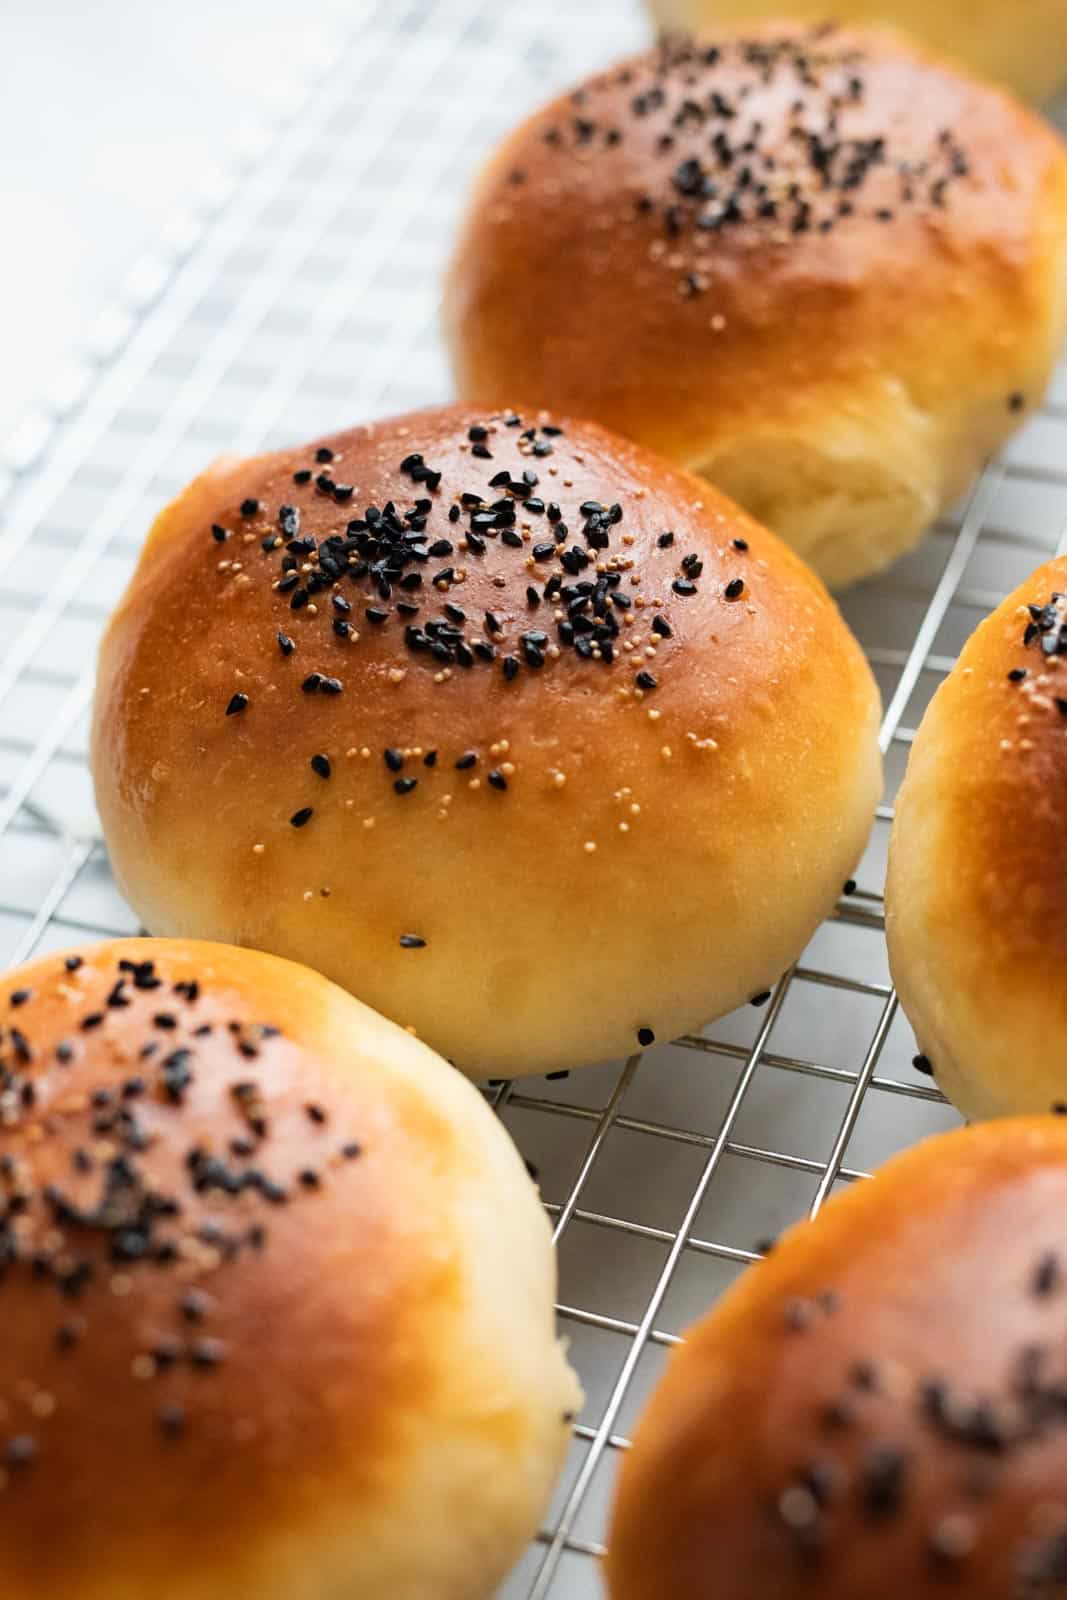
While it is possible to prove shaped dough in the Instant Pot there are a few hindrances. Shaped breads like buns and dinner rolls need more space, so unless you have the option of using a stackable tray, it’s really hard to proof more than 5 buns or rolls at a time. If you do have a stackable tray, then lucky you! Cut out parchment paper into small squares, place each individual roll or bun and place them on the tray and continue to proof. Once done, transfer the dough along with the parchment paper onto a baking tray and bake away! Life’s easier with this hack, we certainly believe so! Try your hand and let us know how it goes in the comments below!
Our favourite Instant Pot Recipes
Instant Pot Thai Chicken CurryZero Cook Time VegetablesInstant Pot Mexican RiceInstant pot Beef BourguignonInstant Pot Beef Stew