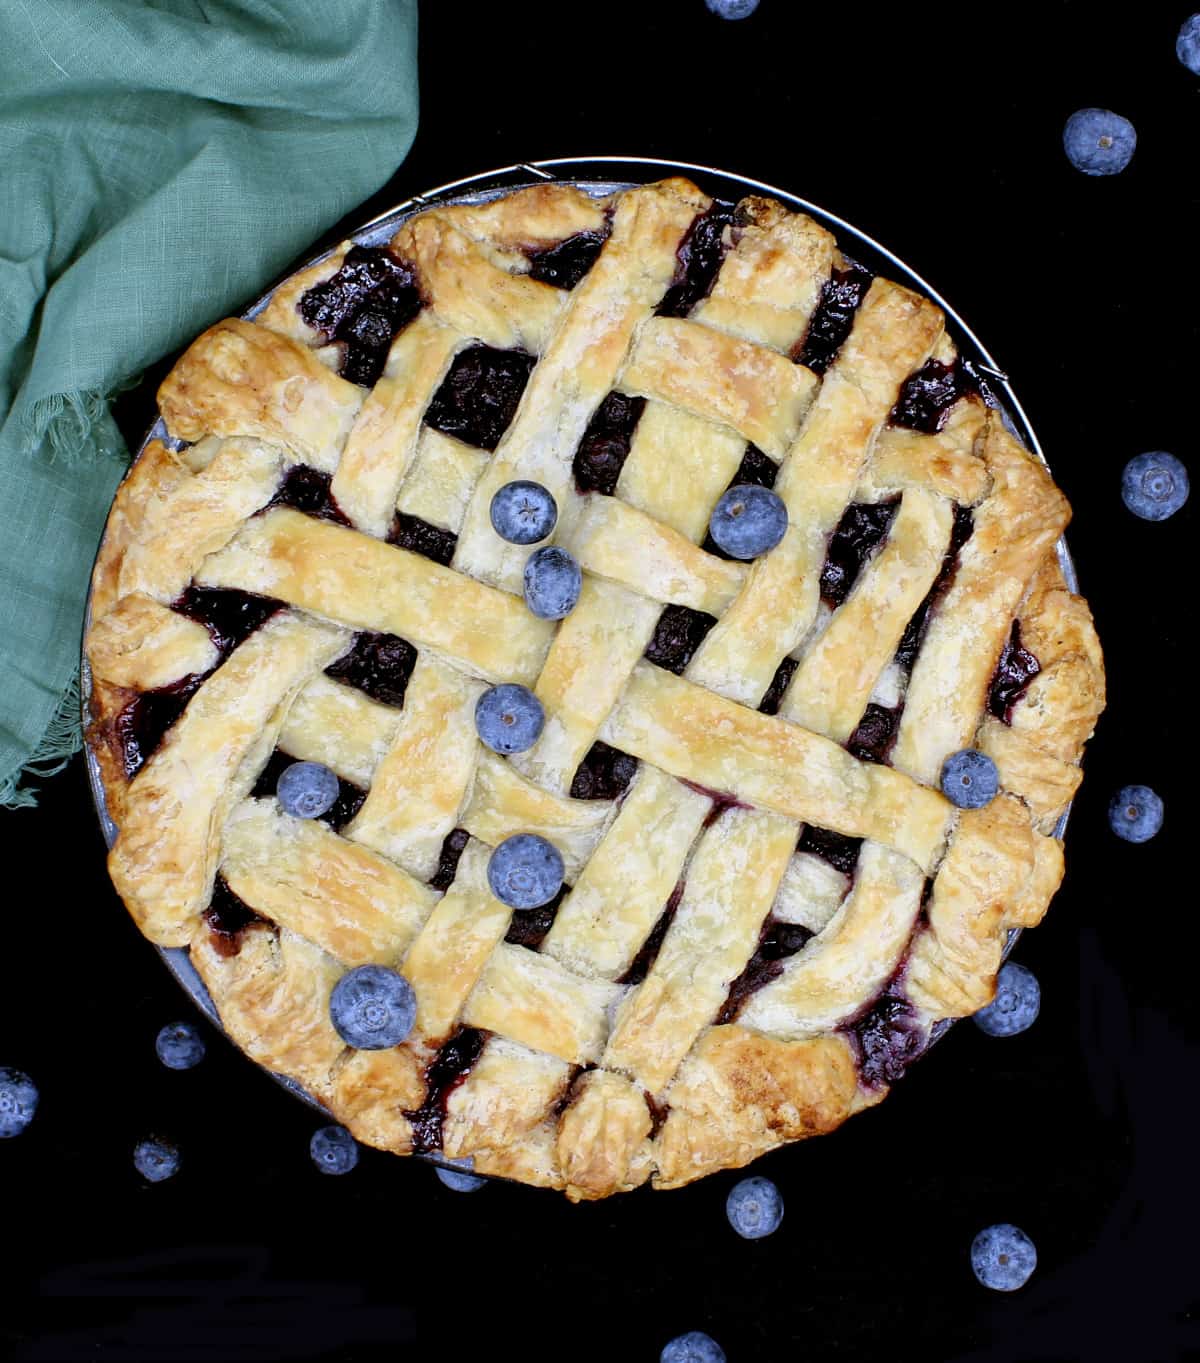
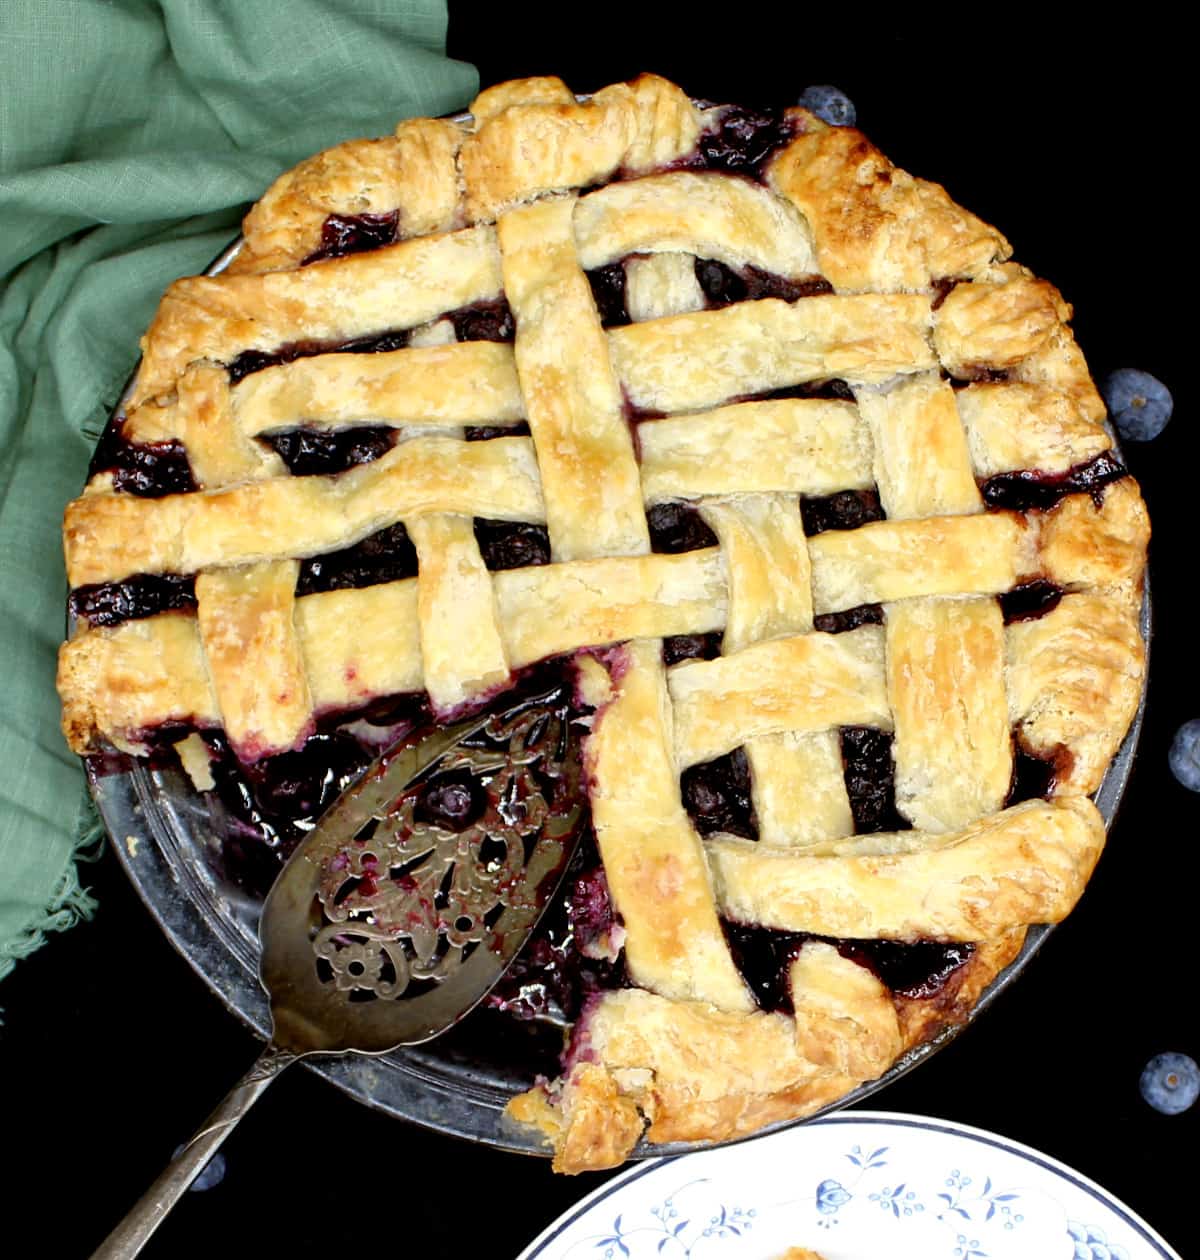
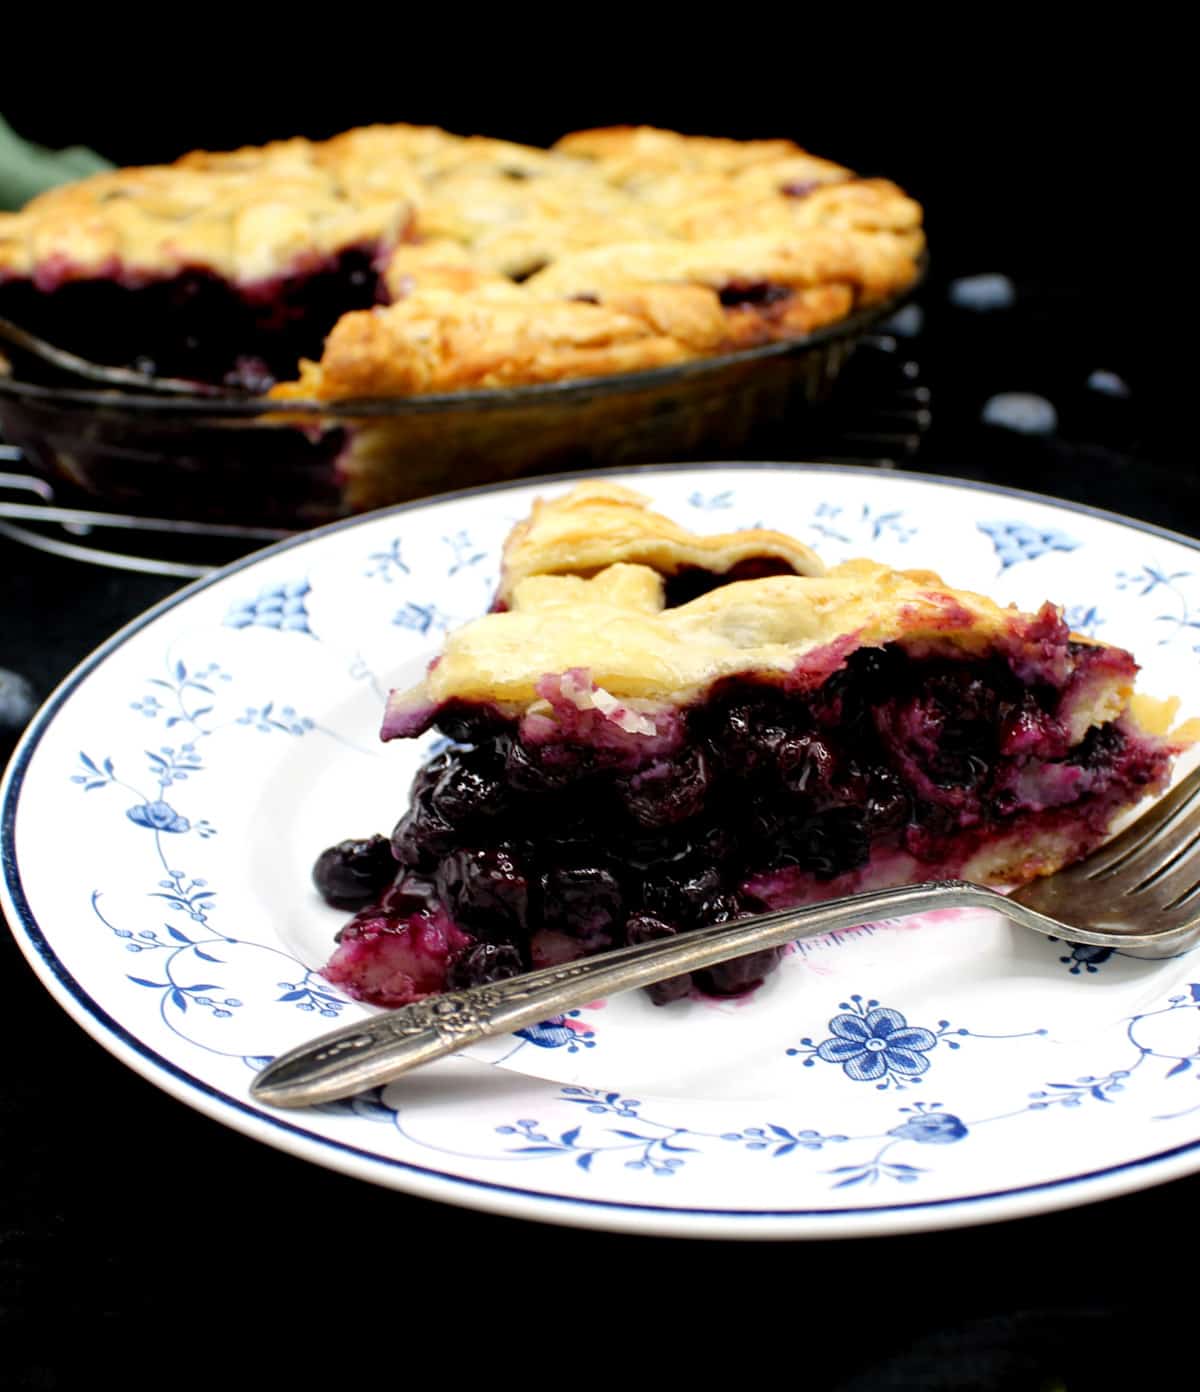
Nothing says holidays quite like pie, and today I have for you a recipe for the ultimate Vegan Blueberry Pie. Like most fruit pies, this is a simple recipe with a few ingredients. You can put it together in about 20 minutes if you’re used to making pies, and that includes making the pastry crust. Pies are always a hit in my home–Desi loves them with a passion–and this one disappeared faster than I could say “Blueberry Pie.” Try it, and be sure to come back and let me know what you think.
Fresh or frozen blueberries?
This recipe needs six cups (around 42 oz) of blueberries and frankly, fresh organic blueberries can break the bank where I live. I have a little blueberry tree in the backyard that produces lots of pretty little berries every summer but there hasn’t been a single year when I’ve been able to get to the ripe or semi-ripe berries before the birds do. 🙂 So I get organic blueberries in a big bag from the freezer at Costco. It costs under $10 for three pounds (18 oz of fresh organic berries cost around $11, so I’d be paying more than $25 for the amount I need in this pie). The frozen blueberries work just as well as fresh in this pie, and you have lots more left over for more pie or for other desserts or smoothies. Just be sure to thaw them thoroughly and strain out any of the juice that expresses on its own (don’t squeeze the berries) before you add them to the filling.
Homemade or storebought pie crust?
I often cheat on sweet and savory pies with a puff pastry crust, but when it comes to a vegan pie crust I usually make it myself because it’s just so easy and takes barely five minutes. The results are always wonderful, and it’s probably better for you to make it yourself, knowing what the exact ingredients are. But if you prefer a storebought crust, go for it. It’ll make this pie an even easier – and quicker – one for you. Check to get new recipe updates by email.
Make this vegan blueberry pie gluten-free
If you want your pie to be gluten-free, make a double batch of the crust in my Gluten-Free Vegan Caramelized Onion Galette recipe, and add 2 tablespoon of sugar to the flour before mixing it into a dough. Gluten-free doughs need more care with handling–roll it out between sheets of parchment paper and make sure you are keeping the dough well-floured as you roll it out. The blueberry pie filling is already gluten-free so no need for any adjustments there.
Helpful tips and tricks
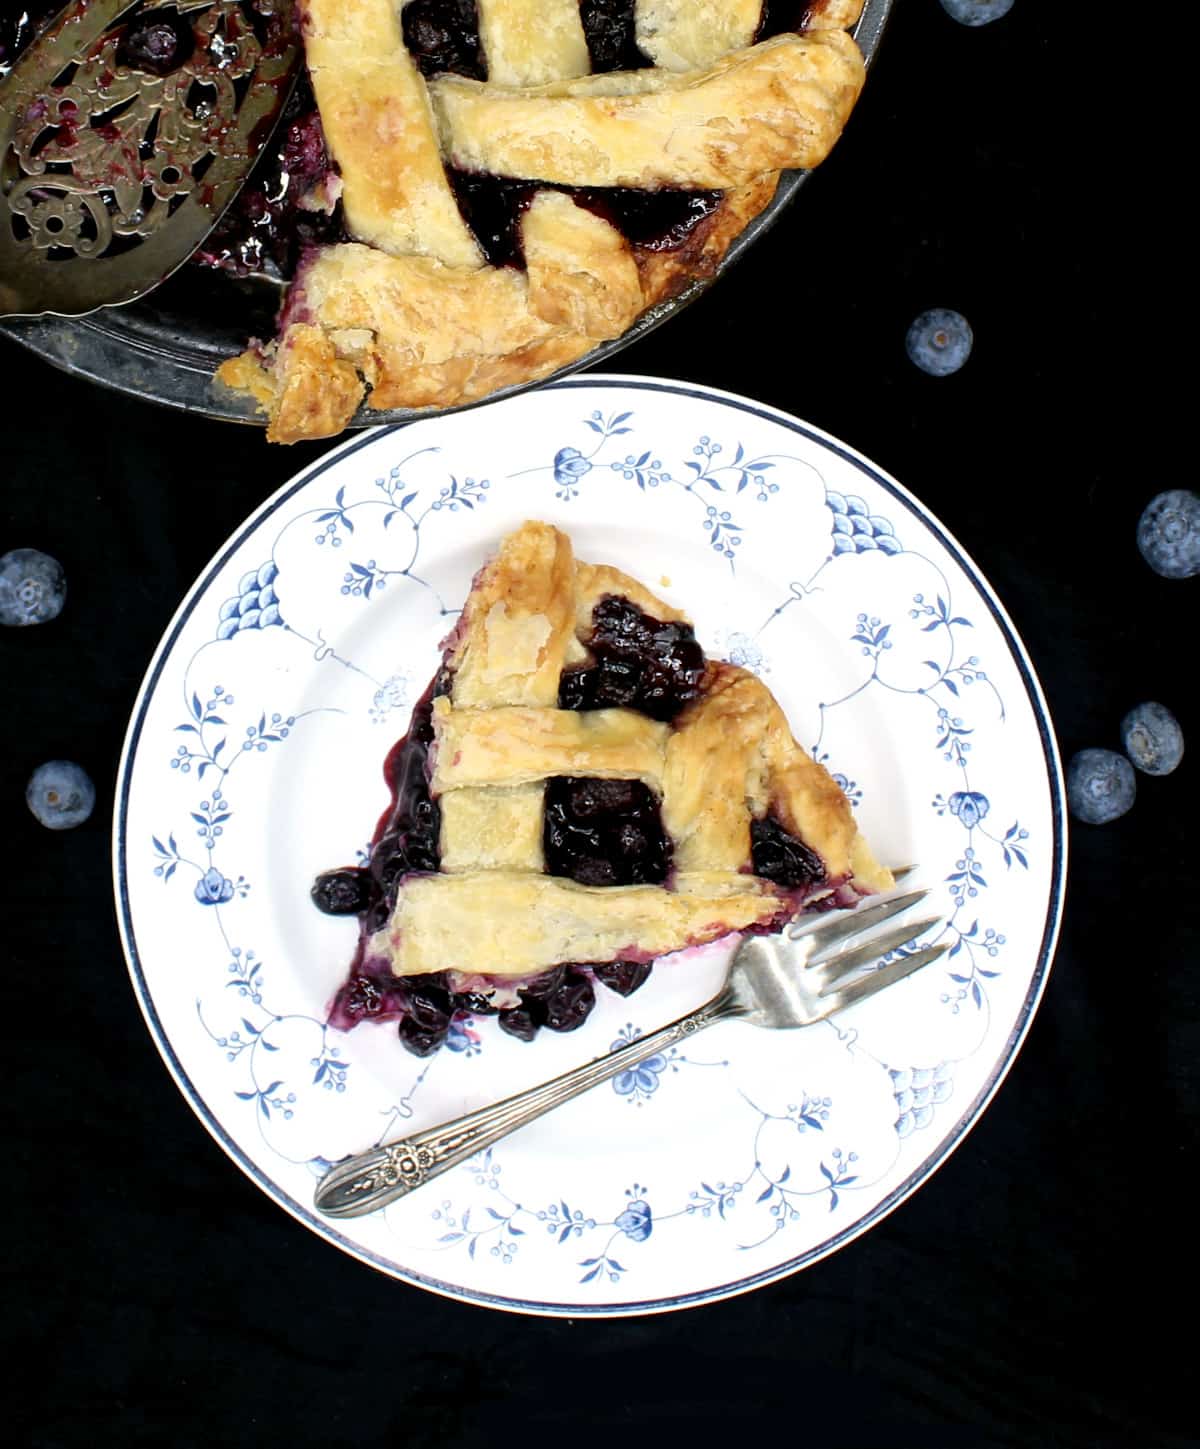
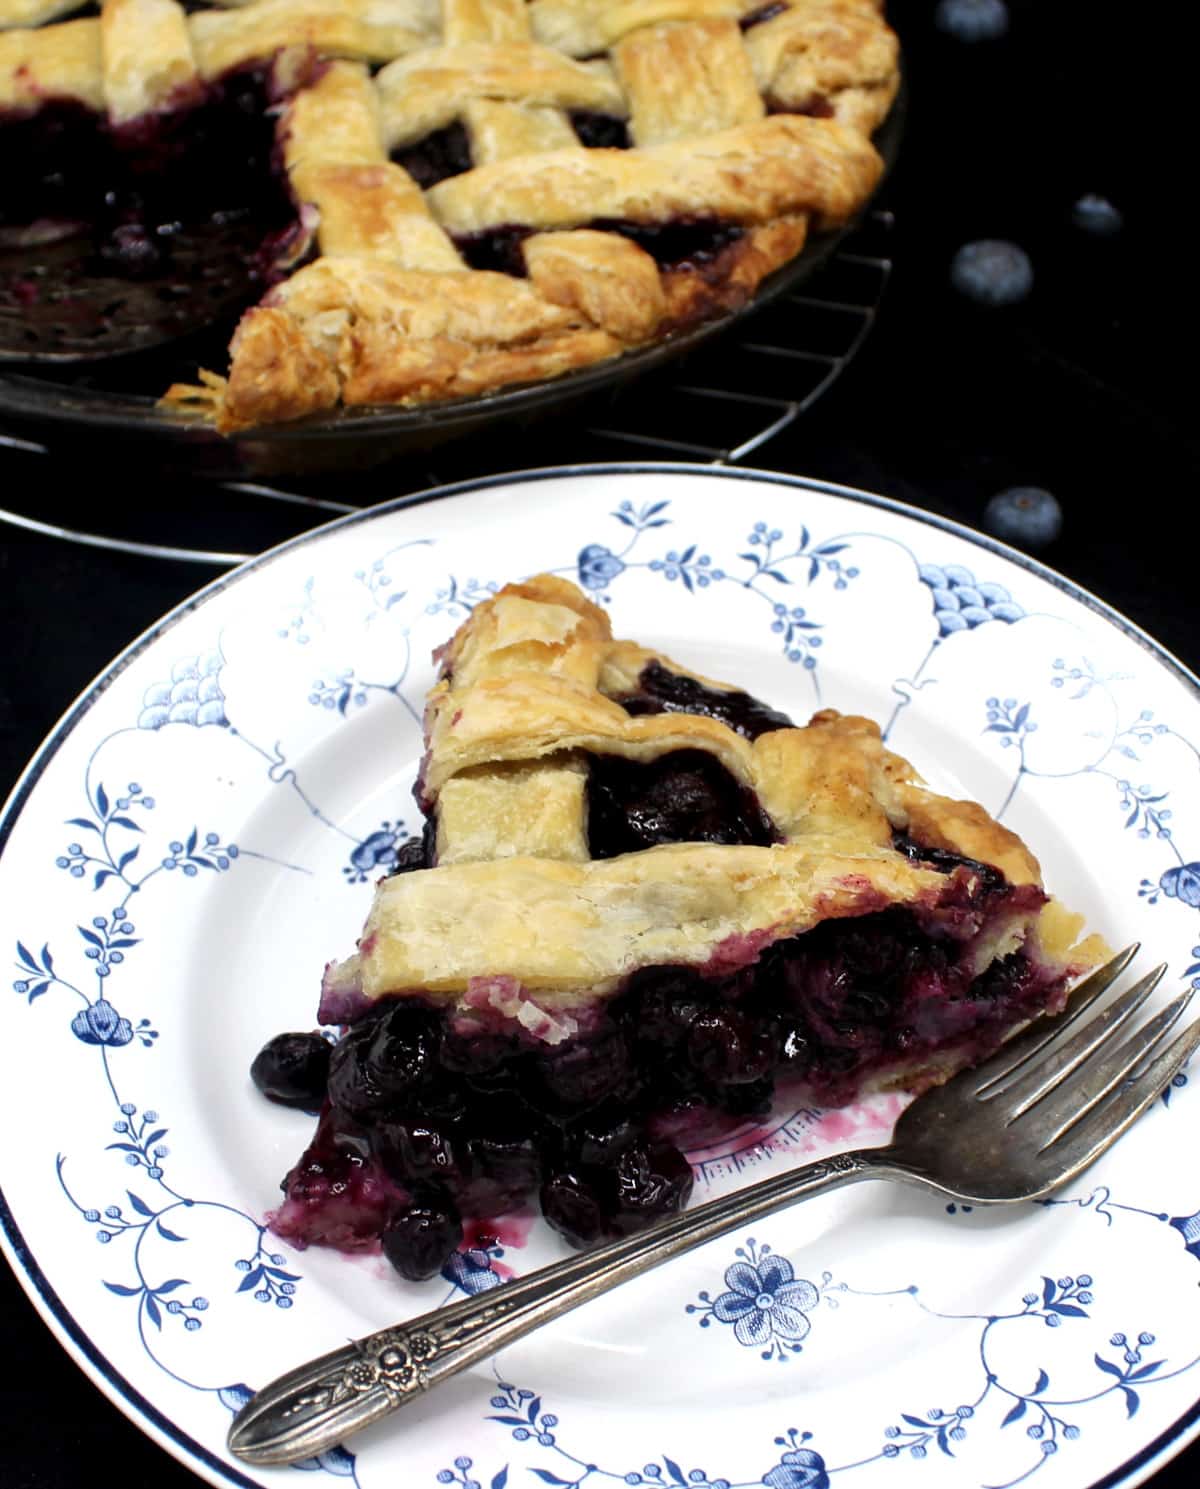
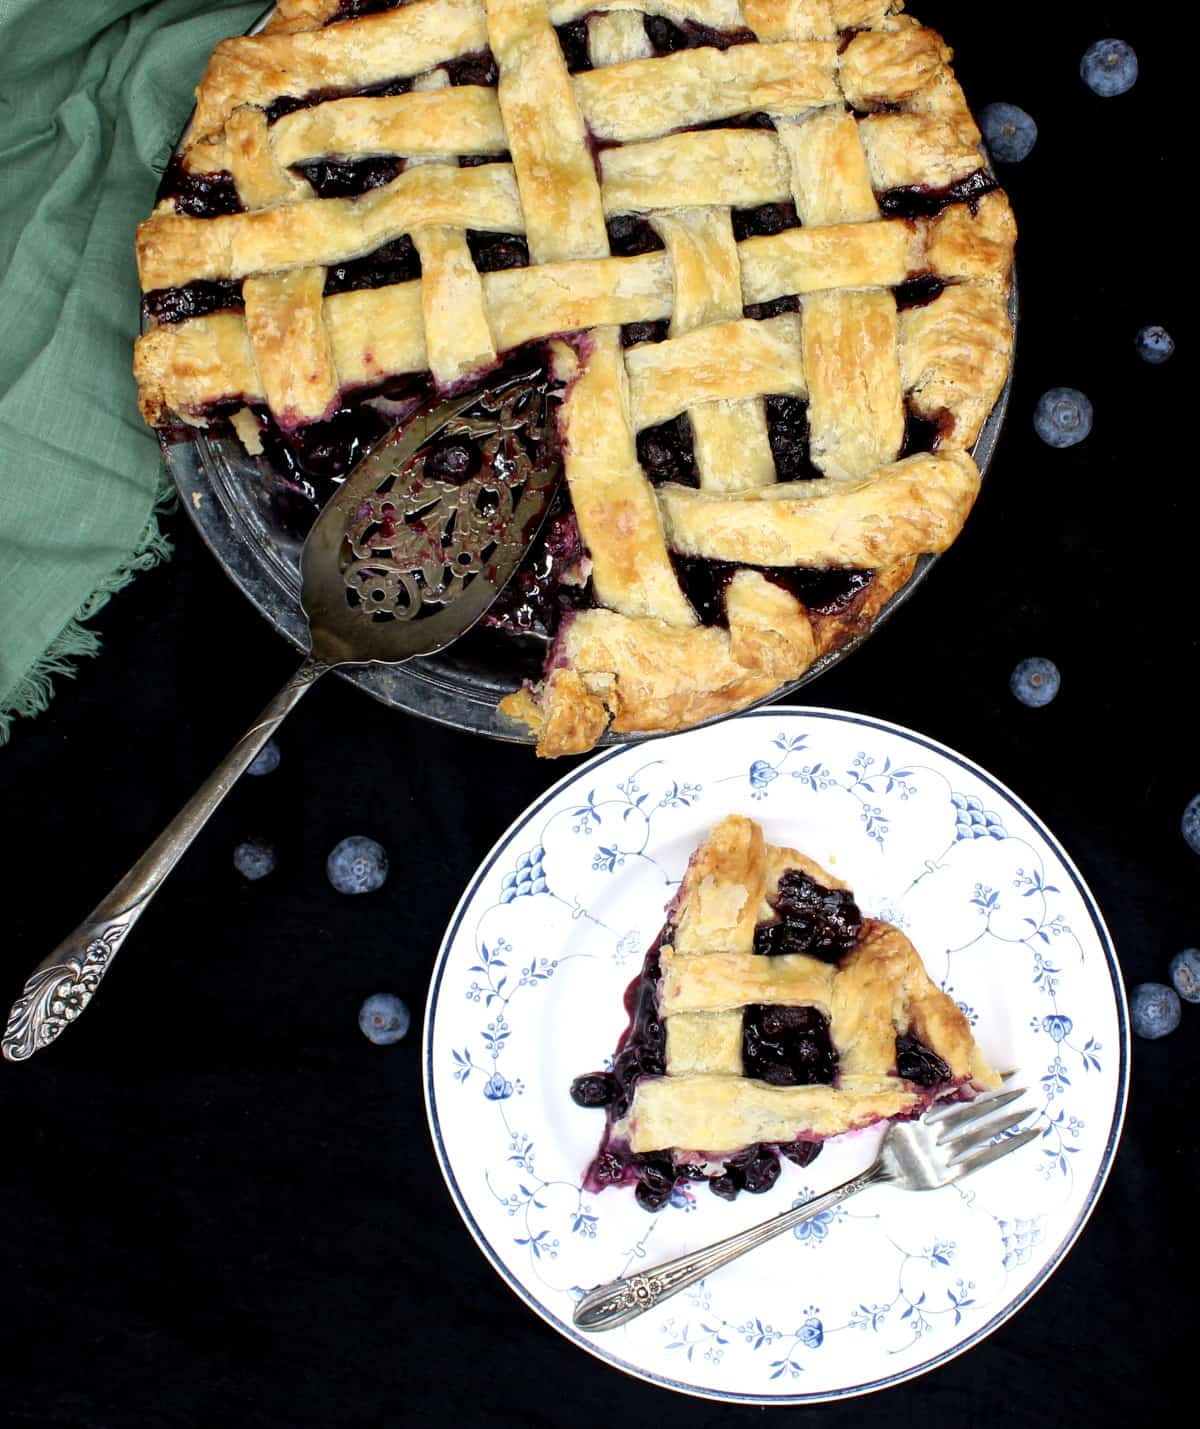
Prep the berries: If you’re using frozen blueberries, take them out of the freezer, measure them, and place them in a colander to thaw, at least four hours before you start to make the pie. Place the colander over a bowl to catch the juices as they drain. Do not squeeze the berries, just let any juice that drains out naturally fall away as the berries thaw. Make the pie dough: If possible, make your pie dough in advance as well. I make it around the same time I put the blueberries out to thaw, which gives the dough a few hours to hang out in the fridge. You don’t have to do this. You can roll out the dough as soon as you make it, but if possible, do give it at least 30 minutes to sit in the refrigerator before you roll, just so the butter has a chance to firm up again. A key thing to remember when making pie dough is to keep everything it comes into contact with cold. First, mix the all purpose flour with sugar, salt and “cut in” the butter, which should be used straight out of the fridge and should be very solid. You want little bits of the butter to disperse throughout the dough without melting into it. When this happens, and your pie dough hits the heat of the oven, those pockets of butter will melt, creating the air pockets that make the crust flaky. Cut in the butter with a fork or a pastry cutter until it’s in smallish pieces, some about the size of green peas, and has dispersed throughout the flour. At this point start mixing in the water, which should be ice cold. Mix the dough with a fork, not with your hands (which are warm), until it just comes together into a ball. At this point halve it and place each half into cling wrap. As you wrap, use your hands over the cling wrap to shape each half into a disc, as evenly as you can. Place the discs into the refrigerator for at least 30 minutes. Make the vegan blueberry filling: While the dough is chilling, mix up your blueberry filling. Place the thawed and drained blueberries in a bowl and add sugar, cinnamon, lemon juice and cornstarch. Mix it all well, then set aside while you roll out the bottom pie crust. Put the blueberry pie together: Roll out a disc of the cold pie dough on a floured surface until it’s big enough to fit inside of your deep dish pie pan. Carefully transfer the dough to the pie pan – it helps to fold it once and then one more time, and then gently place it in the pan and unfold. Fit the pie dough to the edges of the pan, then pour in the prepared blueberry filling. You can refrigerate the pie at this stage, if you’re in a hot kitchen, until you roll out the top crust. Once the top crust is ready–it should be slightly larger than the top of the pie dish – you can shape it into a lattice top, like I did (my lattice-top-making skills are terrible and I can never get it quite right, but eaters rarely notice, it still looks pretty, and who cares when it all tastes so good?). Another easy way to make a cute top crust for your vegan blueberry pie is to cut out shapes with a cookie cutter and layer them on, like I do with some of my other vegan pies, including this Vegan Strawberry Pie and my Vegan Sweet Potato Pie. You can also just do a very plain top crust, like this Vegan Skillet Apple Pie. It looks great for very little work. Bake the pie: Remember to preheat the oven to 425 degrees and bake the pie at that temperature for 25 minutes on a lower rack of the oven. Remember to place a baking sheet under the pie plate when you put it in the oven to make sure it catches any juices that overflow, saving you from a dreaded mess in the oven. Putting the pie on the lower rack in the first half of baking helps nicely cook and brown the bottom crust, and it keeps the top crust from browning too fast. After 25 minutes, move the baking sheet with the pie on it to a rack in the middle, reduce the heat to 350 degrees and bake another 25-30 minutes or until the top is nicely golden-brown. Cool the pie: This is really important. As tempting and gorgeous as your newly baked pie looks, don’t cut it open. All those fruit juices that are flowing around because of the heat need time to cool down and thicken, and if you cut your pie when it’s just baked, you’ll have a gooey mess on your hands–delicious, but not pie. In the old times, bakers kept their pies on window sills to cool down in the gentle breeze (often tempting pie thieves and animals to make away with them). You can just keep the pie in a cool spot in the home and let it cool down completely before serving. I usually just leave it alone overnight.
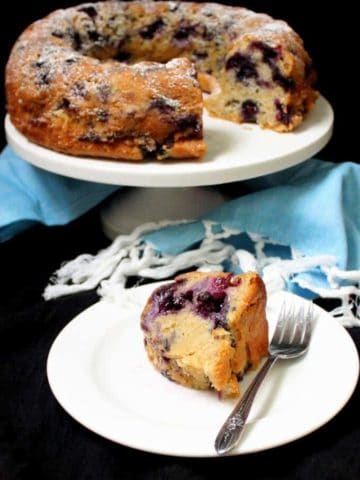
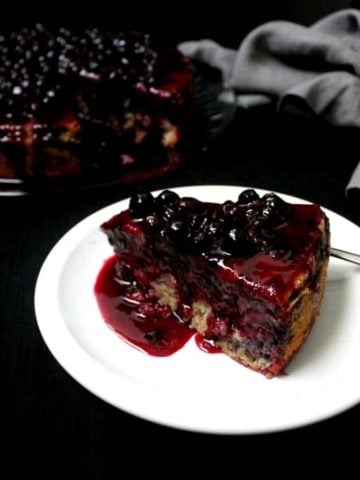
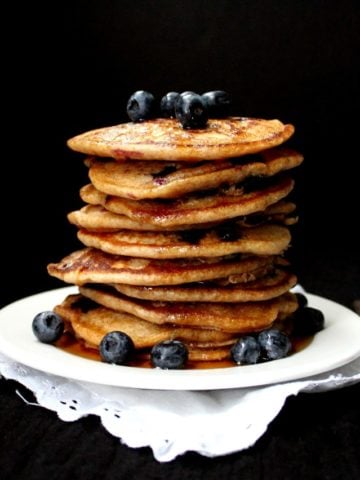
More tasty vegan blueberry recipes
Recipe card